The adventure of building my own PC (12/21/24 UPDATE: 27-month experiment ended in disappointment) September 10, 2022
Posted by Mike C. in Computer, Internet, Personal, Photography, Technology.trackback
NOTE 1: This is a long post.
NOTE 2: I added follow-ups at the end, written on June 24, 25, and 27, November 5, and December 6, 2023.
NOTE 3: Another follow-up was written on December 21, 2024, after replacing the PSU to no avail and buying a Dell Alienware desktop PC.
For 3 1/2 years, my bedroom/home studio desktop computer was a Dell XPS 8930 that I had custom built by Dell. All my PCs since 2011, laptop and desktop, had been customized and bought from either Dell or HP.
My needs have grown over time. Media production requires top-of-the-line parts. A video shouldn’t have a render time that’s triple its running time. Photo editors shouldn’t struggle to load files and apply effects, nor should they flicker when operating. On the audio front, it’s frustrating if the computer freezes while airchecking a radio show. That’s one reason I’ve been recording on my computer and the computer in the neighboring guest room: an HP Envy 750-170se, which was even slower than the XPS 8930. And the most annoying thing about the XPS is how its cooling fan screams during an intense task.
Thus, in July, I began searching for a new computer. I had already planned on buying a mirrorless Nikon Z7 II with IBIS (in-body image stabilization), higher maximum resolution, and lower minimum ISO. I’d get it with an FTZ II lens mount adapter so I could keep using my F-mount Nikkor all-in-one lens. (The vertical grip is enticing.) I eventually learned the Z cameras lack a built-in flash and I’d have to buy a speedlight attachment, as well. Review sites like this one recommend a top-of-the-line model, but Nikon recommends what the review site considers #2.
The potential customizations for Dell and HP PCs (desktop homepages here and here) were expensive, but limited in maximum storage and memory. My friends in the Discord chat servers for Technology Connections and Game Dave recommended building my own PC with individual parts. Newegg lets you create, save, and share custom build lists. I shared my build with the TC Discord and they suggested tweaks, which I made. I thought I’d need to double the RAM (random-access memory) of the XPS, from 64GB (gigabytes) to 128GB, but they said 64GB would be fine with the CPU (central processing unit) and GPU (graphics processing unit) I had in mind. 128GB would be overkill.
On the morning of August 27, I had an epiphany: buying the camera before the computer was putting the cart before the horse. I should buy a more powerful computer now (that morning), and save the more advanced camera for later (my birthday in November or Christmastime in December). (6/24/23 UPDATE: I bought a cheaper Canon EOS R7 instead.) I made final tweaks to the build to cut costs. I still had highly-rated components, but not as flashy. It all cost $2,890.79, with taxes and shipping yielding a grand total of $3,156.96. The shared build list can be viewed here. If you’re not on a smartphone or don’t have the Newegg app installed (iOS, Android), click the center arrow for full descriptions. 12:30 PM UPDATE: I’ve been told the Newegg build list link doesn’t work for some readers. So, here are direct links to each part (with Newegg’s descriptions):
- CPU: AMD Ryzen 9 5900X – Ryzen 9 5000 Series Vermeer (Zen 3) 12-Core 3.7 GHz Socket AM4 105W Desktop Processor 100-100000061WOF
- Motherboard: MSI MAG X570S TOMAHAWK MAX WIFI AM4 AMD X570 SATA 6Gb/s ATX AMD
- Memory: G.SKILL Ripjaws V Series 64GB (2 x 32GB) 288-Pin PC RAM DDR4 3200 (PC4 25600) Intel XMP 2.0 Desktop Memory Model F4-3200C16D-64GVK
- GPU: MSI Ventus GeForce RTX 3080 10GB GDDR6X PCI Express 4.0 Video Card RTX 3080 VENTUS 3X PLUS 10G OC LHR
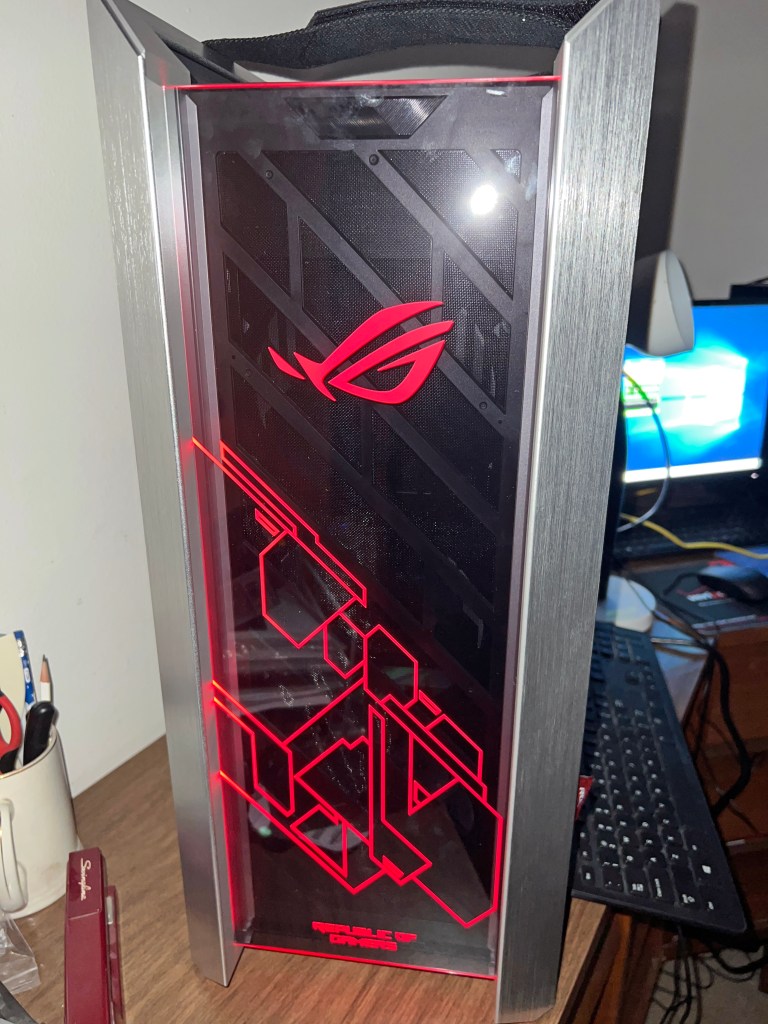
- Case: ASUS ROG Strix Helios GX601 White Edition RGB Mid-Tower Computer Case for ATX/ EATX Motherboards with Tempered Glass, Aluminum Frame, GPU Braces, 420mm Radiator Support and Aura Sync
- Power Supply: EVGA SuperNOVA 1000 G6, 80 Plus Gold 1000W, Fully Modular, Eco Mode with FDB Fan, 10 Year Warranty, Includes Power ON Self Tester, Compact 140mm Size, Power Supply 220-G6-1000-X1 (Replaced on 12/21/24 with CORSAIR HX1200i Fully Modular Ultra-Low Noise ATX Power Supply – ATX 3.0 & PCIe 5.0 Compliant – Fluid Dynamic Bearing Fan – CORSAIR iCUE Software Compatible – 80 Plus Platinum Efficiency – Black)
- Storage 1: SAMSUNG 980 PRO Heatsink M.2 2280 2TB PCI-Express 4.0 x4 V6(12xL) V-NAND 3bit MLC Internal Solid-State Drive (SSD) MZ-V8P2T0CW
- Storage 2: Seagate IronWolf 8TB NAS Hard Drive 7200 RPM 256MB Cache SATA 6.0Gb/s CMR 3.5″ Internal HDD for RAID Network Attached Storage ST8000VN004
- CPU Cooler: be quiet! 250W TDP Dark Rock Pro 4 CPU Cooler with Silent Wings – PWM Fan – 135 mm LGA 1700 Compatible
- Operating System: Microsoft Windows 11 Pro (USB)
- Accessory 1: EVGA Z15 RGB Mechanical Gaming Keyboard, Clicky Switch, RGB Backlit LED, Hot Swappable Kailh Speed Bronze Switches 822-W1-15US-KR
- Accessory 2: ASUS USB 2.0 / USB 3.0 External 16X Blu-Ray Re-writer MacOS Compatible Model BW-16D1X-U LITE/BLK /G /AS
All but one component arrived between August 30 and September 2:

The entire first shipment 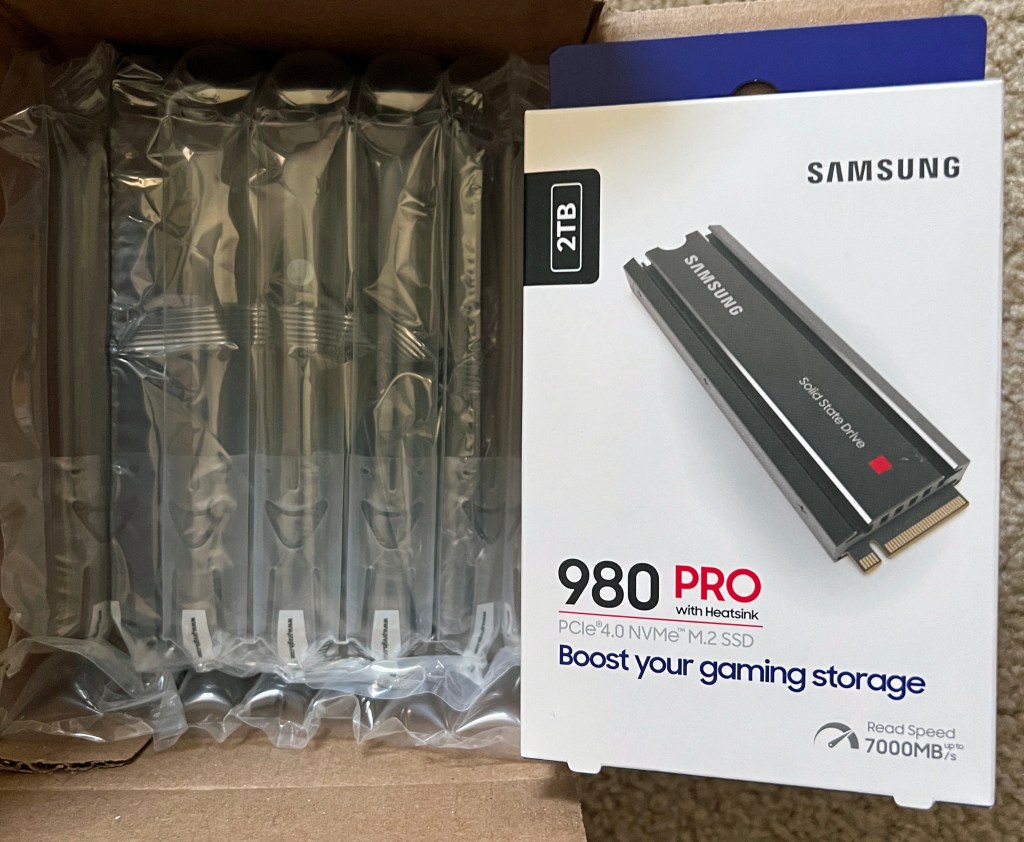
HDD (hard disk drive) and SSD (solid-state drive) 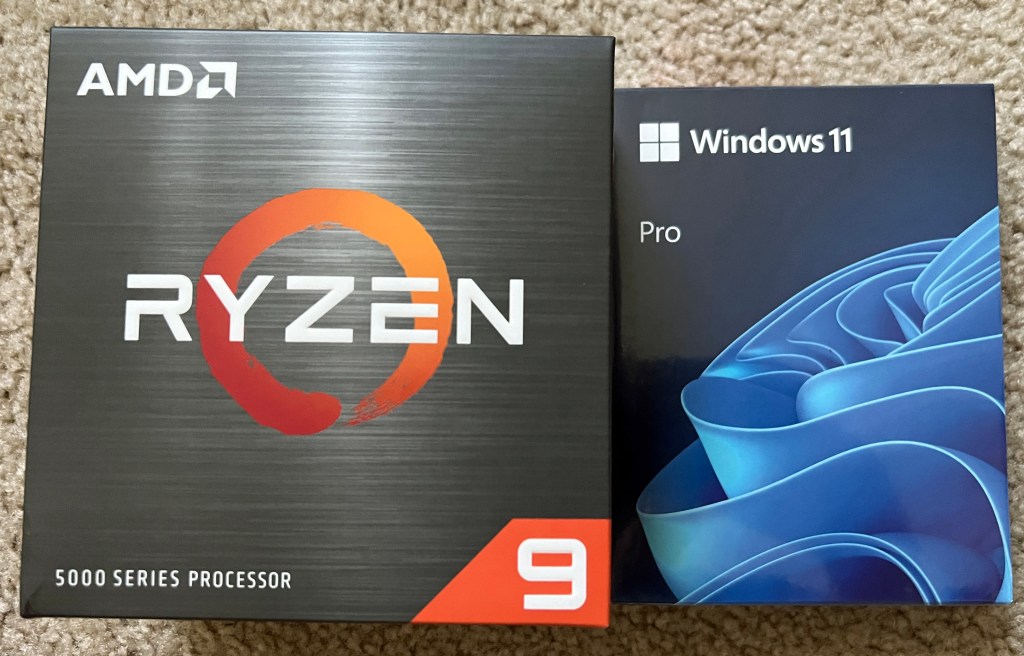
CPU, operating system 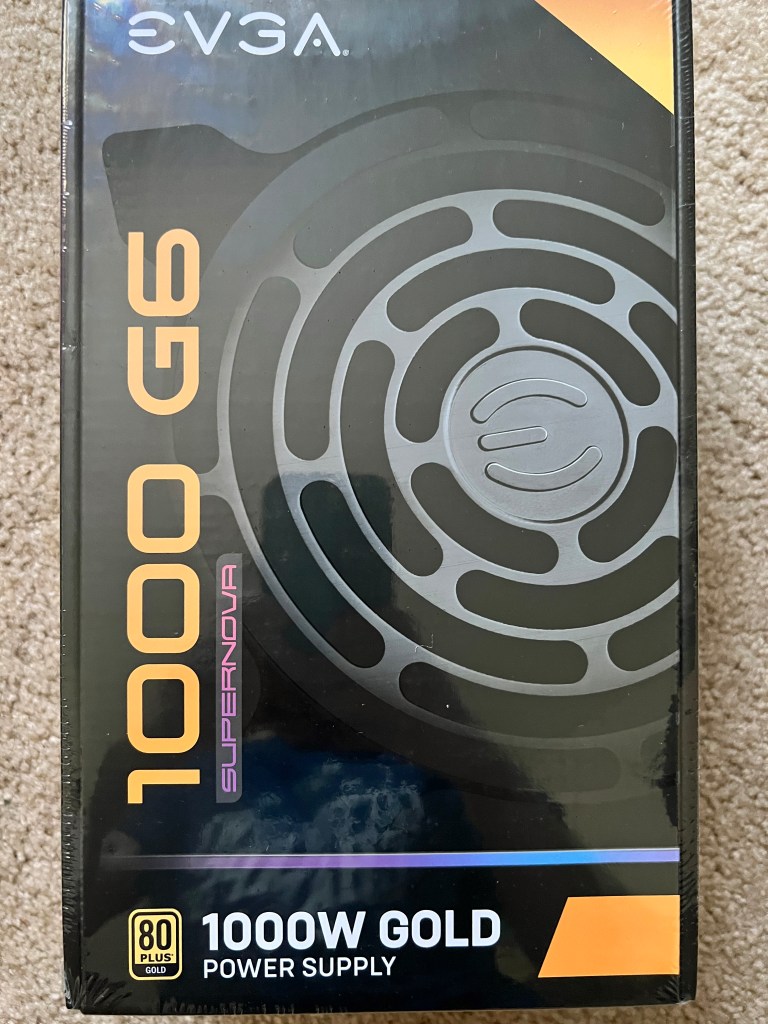
Power supply 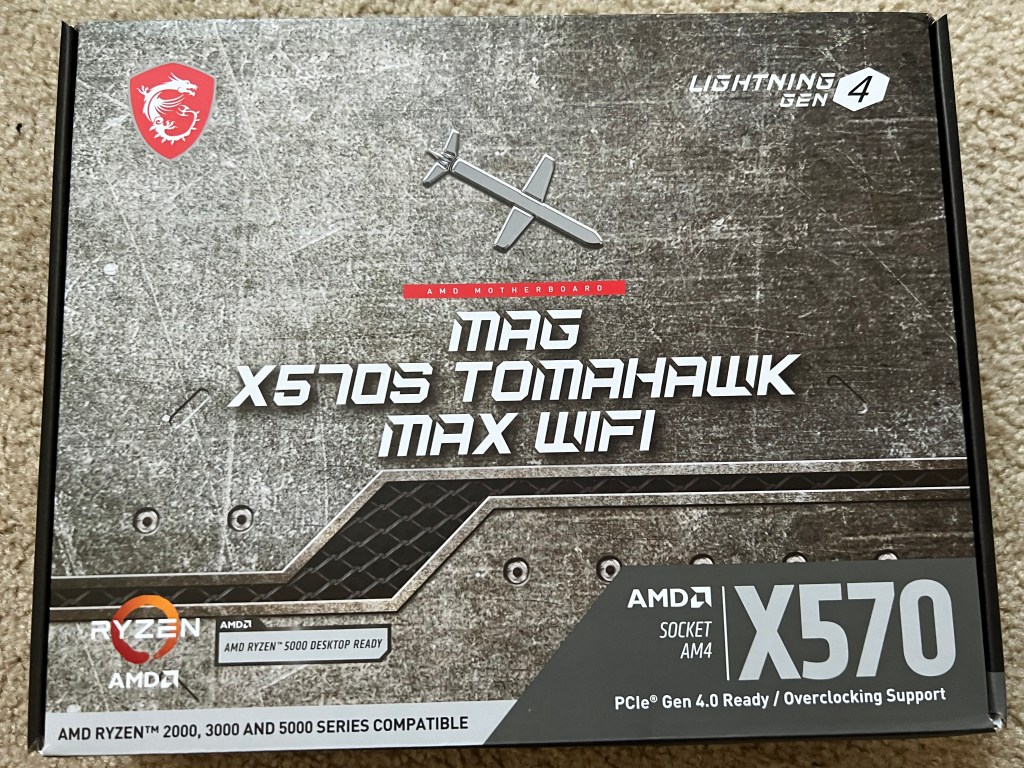
Motherboard 
GPU 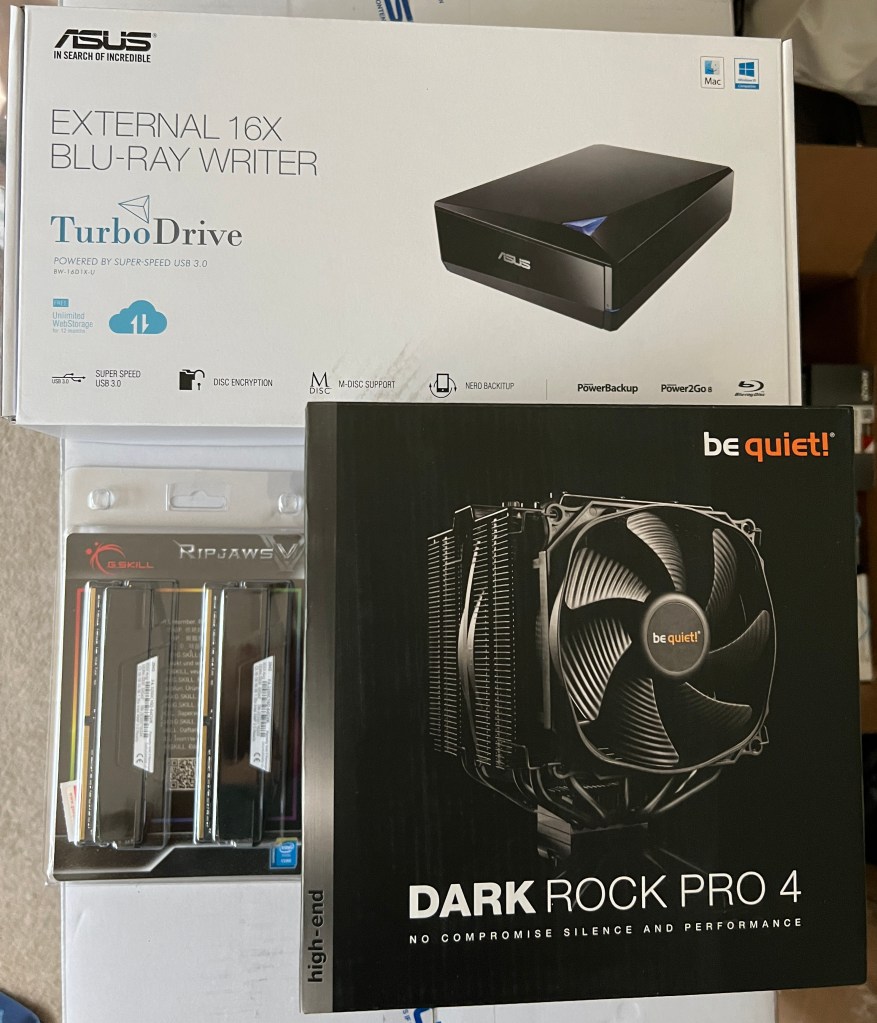
External Blu-ray writer drive, 2x32GB RAM DIMMs (RAM sticks), CPU cooler 
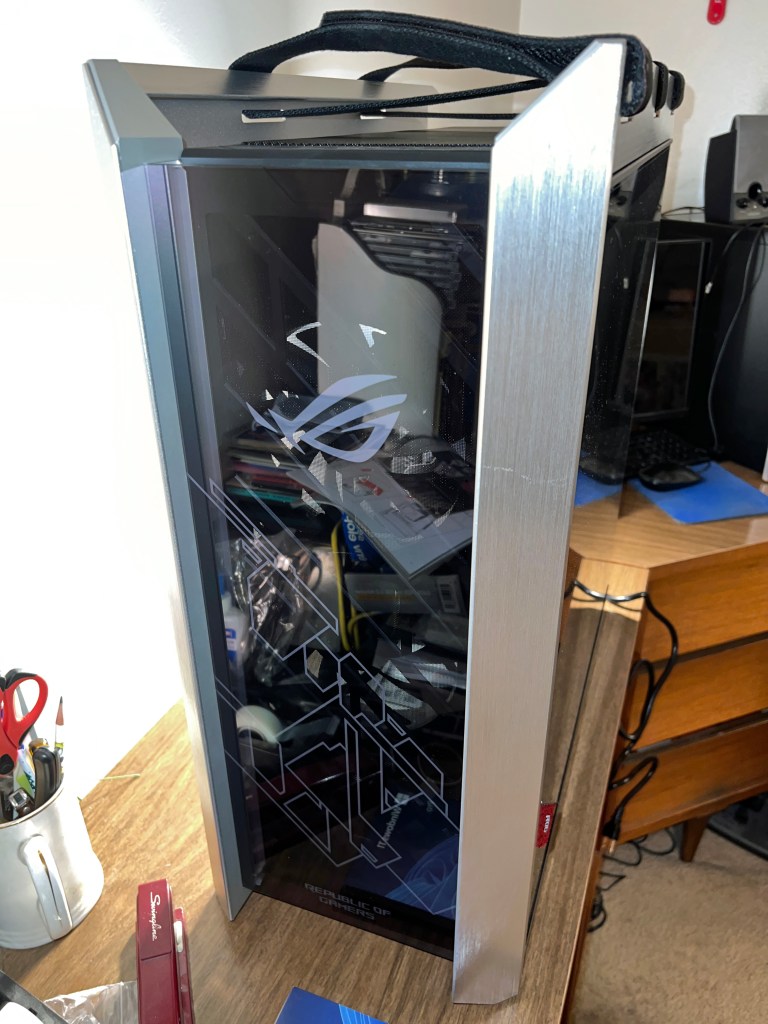
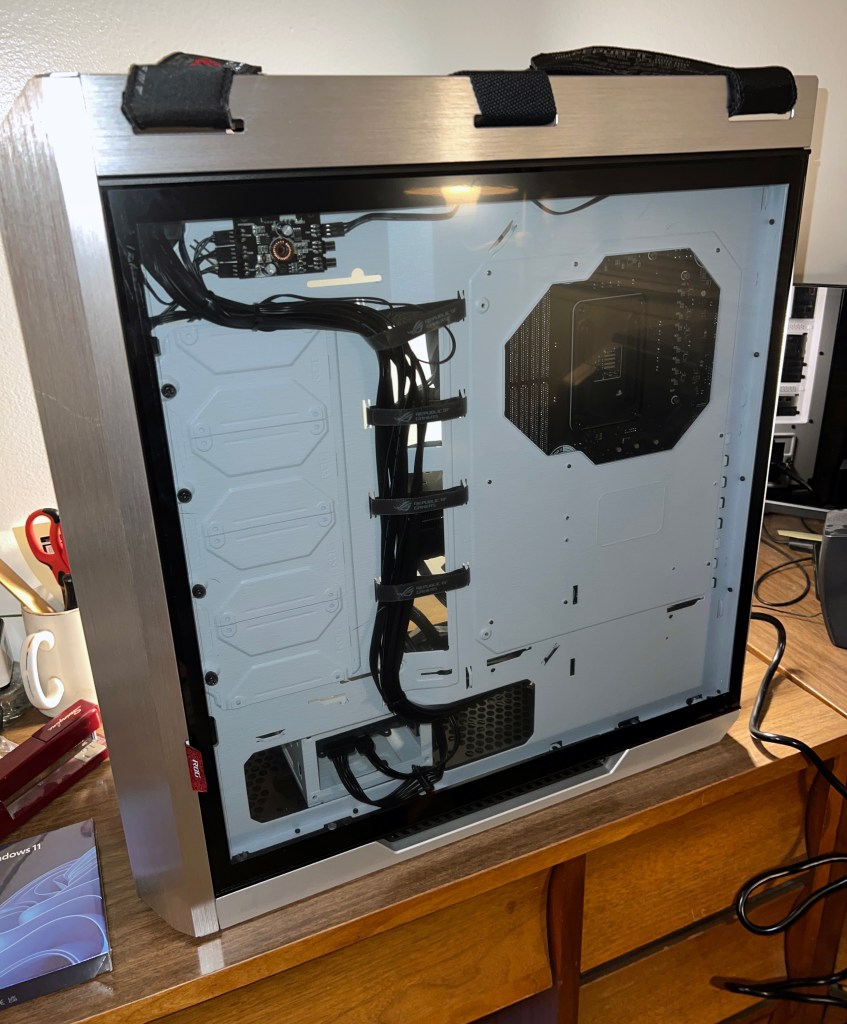
The surprisingly big tower case
Yes, I made a gargantuan oversight when picking a tower case: I didn’t check the dimensions! It’s 23.27 inches high, 9.84 wide, and 22.24 deep. No wonder it has straps for carrying at the top. Still, my dad told me that cases that big are better because they allow for more maneuverability during assembly.
The lone late arrival was the mechanical gaming keyboard, scheduled to arrive on Tuesday, September 6. Unfortunately, I wasn’t home to sign for it. Everything else arrived in the evening while I was home, but the UPS driver reached my house in the afternoon on a day when I was out. So, I had to pick it up the next day at my local CVS, a UPS Access Point location.
In the meantime, I was willing to use a spare keyboard temporarily and an old Dell wired USB mouse that I found in a basement storage box as the mouse for my build.
I could have started assembly on Friday, September 2, but bought a new FireWire (IEEE 1394) card on Amazon (this one) rather than swap out the one in my Dell XPS 8930. Amazon is also where I bought an ESD (electrostatic discharge) anti-static wrist strap (this one) to wear during assembly (clipped to the case) and two use licenses for Laplink PCmover Professional, my go-to data migration software since getting the XPS in February 2019 and an HP Omen 15t-dc000 laptop that January. The laptop was superseded by a Dell Alienware m15 R3 in December 2020. I mistakenly sprung for Dell Update, which wasn’t as good as PCmover. I held on to the Omen laptop until cleaning it out last week – uninstalling extra software and logging out of my Microsoft account – and donating it to my sister.
Exactly one week after my purchases – the morning of Saturday, September 3 – I prepped my desk’s computer compartment for its much bigger inhabitant. I unscrewed the door hinges (years after taking out the door), took out the drawer above it (uninhabited for about five years) and unscrewed the supports, removed the plank below the desk center, and unscrewed its supports. There was a cardboard backing behind the compartment that had been partially cut open when I first got the desk in 2004. There was clearance for the back of all computer towers until my build. So, I ripped out what was left.
When the FireWire card was delivered in the afternoon, I began assembling the computer on the guest room L-shaped desk. I had no idea what I was in for.
Hours passed as I struggled to decipher the manuals and juggle parts in my lap, falsely assuming it wouldn’t take long to assemble this to that. I had big trouble with the CPU cooler manual, reading the instructions left to right by column rather top to bottom by row. Somehow, the thermal paste held when I finally figured out how to secure it to the motherboard.
I mistakenly assumed I had to unscrew the motherboard’s back panel exterior before attaching it to the case. No! Why else would the screws be so small?! I had to unscrew the motherboard, re-screw the back panel exterior, then re-screw the board to the case.
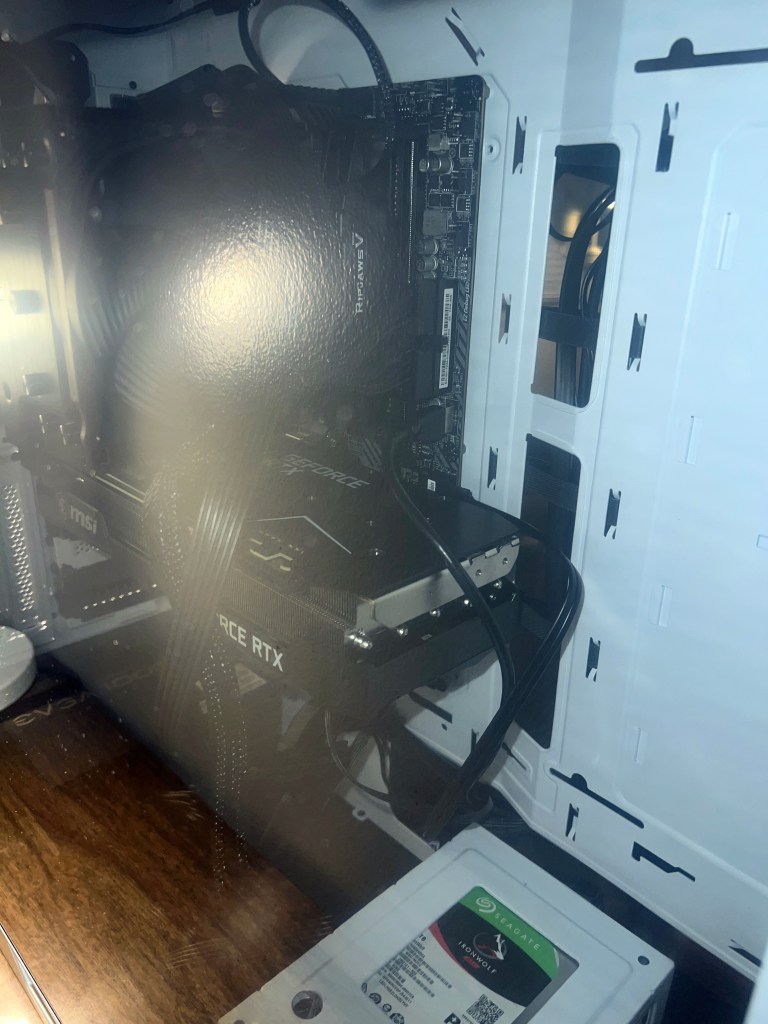
Inserting the GPU/graphics card required unscrewing and removing a vertical expansion slot compartment, then removing multiple inserts to house the card. It was a pain fitting the card into the PCI Express slot, then re-screwing the open inserts and re-screwing the vertical compartment. I didn’t bother with the included bracket; the card stood up just fine.
The graphics card made RAM insertion tough, having to finesse them in.
I couldn’t properly screw in the SSD. I settled for barely connecting it with mismatched screws.
The easy parts of assembly were unscrewing the disposable parts of the tower case, screwing in the power supply (the first two things I did), inserting the SATA (Serial ATA) HDD, and attaching most connectors to the motherboard, whether for the components or the case’s front panel. The power LED positive and negative connectors were impossible to secure, but somehow I did.
I usually eat dinner around 4 or 5PM, but it wasn’t until 7PM that I paused assembly to cook and eat it. Then, back to work.
Thinking I had assembled everything, I closed the tower case at around 10:30 and prepped for bed.

After some sleep, I woke up Sunday morning, September 4, ready to turn the computer on, install Windows 11, and start migrating data. It wouldn’t turn on. Thankfully, with the help of Ganiman and Filbert from the Game Dave Discord, I attached connections to the power supply that were mislabeled and I thought were incompatible, but by golly, they all fit and the computer turned on! What a relief!

The default LED (light-emitting diode) color was green, and there’s even an option to cycle through all colors, but I settled on red. The fourth USB 3.2 type-A port doesn’t work, but I’m willing to live with that. After all, my XPS 8930 only had three front type-A ports and one USB-C. Nonetheless, I turned off the power and tried swapping the type-A connectors on the motherboard, inadvertently knocking out the power connections. Luckily, I got those back in place so the power and LED worked again, but no luck with the fourth type-A port. Fine, just three work. 

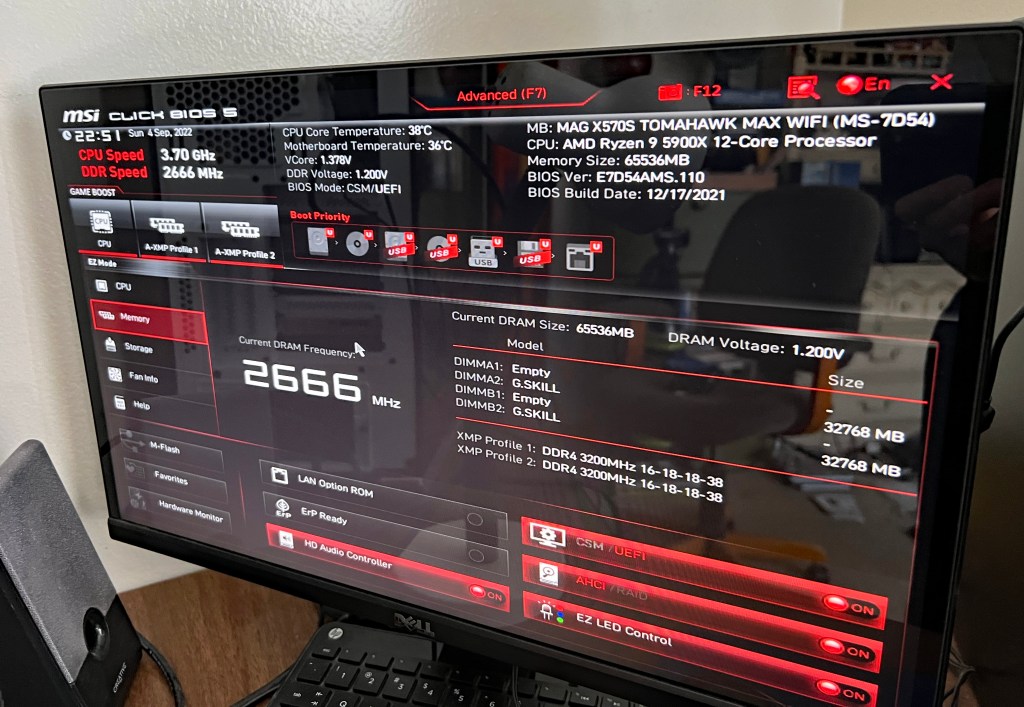
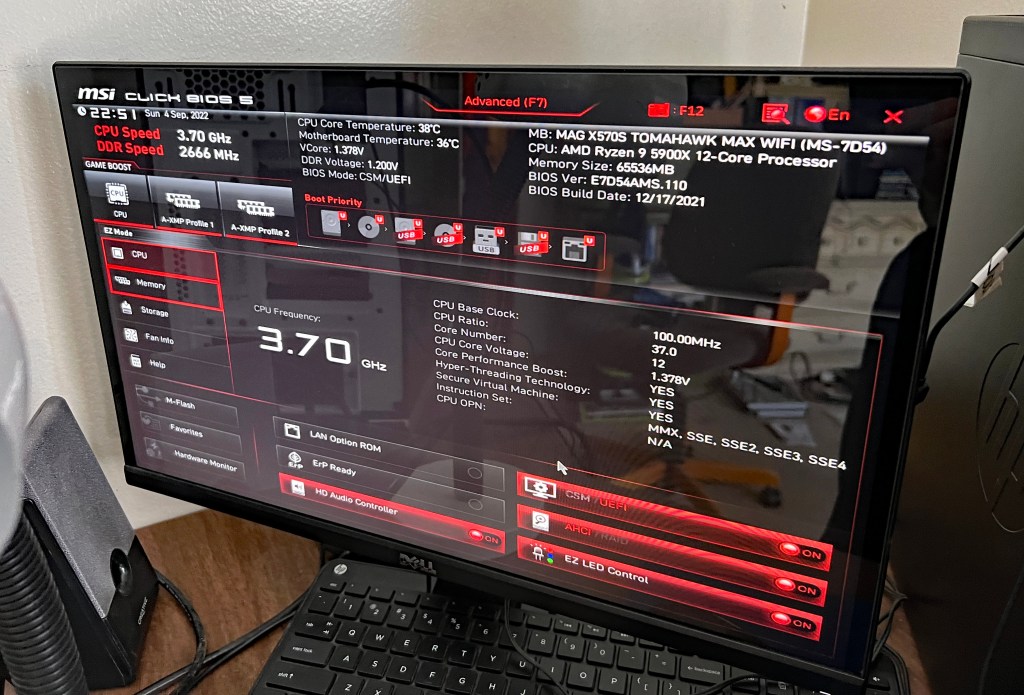
Notice that the BIOS build date is last December 17. It turns out that predates compatibility with Windows 11. My attempt to install yielded an error message. I figured out on my own to update the BIOS by downloading the latest firmware on the Dell, putting it on a flash drive, and loading it to the new build.

That did the trick. I actually had to install Windows 11 twice (another redo). I initially had it on the HDD, but Ganiman said the SSD is the better option for storing the OS.
After that, the long process of data migration began while I relaxed in my room.


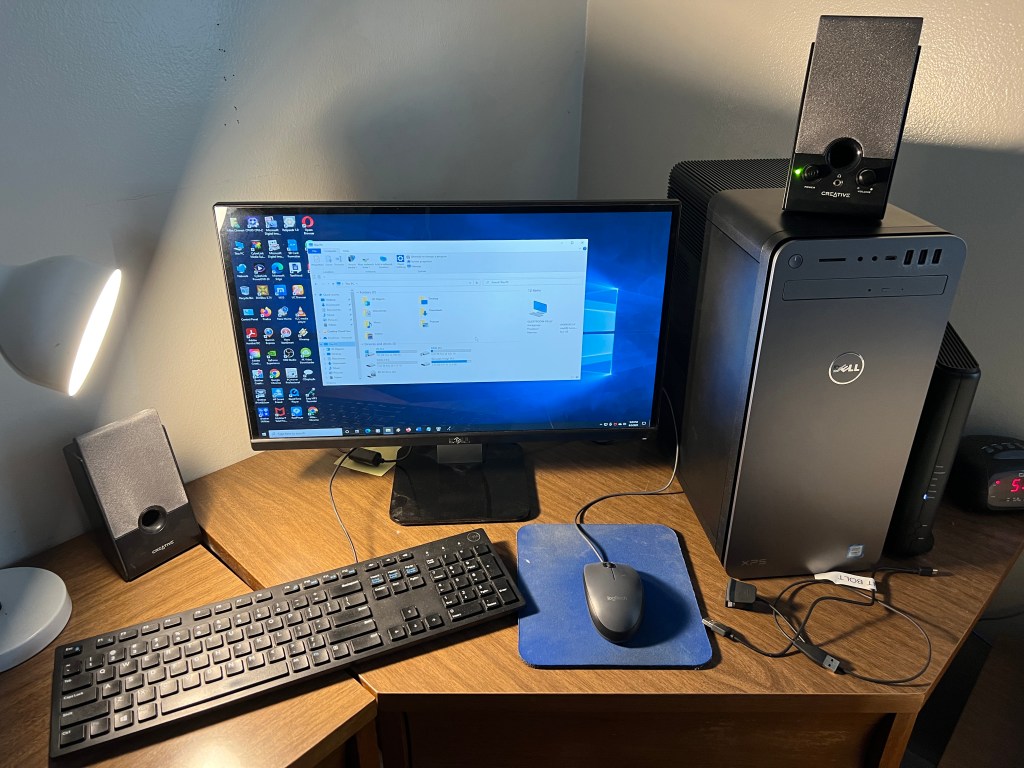
After another night of some sleep, I resumed work on Labor Day morning; Monday, September 5. I moved my desk chair out of the way, disconnected and unplugged the Dell and moved it to the guest room. I left it on the floor and lugged the build into my room.
There’s very little space between the back of the desk and my wall, and less maneuverability for connecting cables. The tower case was too wide to turn towards me. The previous ones could be turned, allowing me to see the back panel from my contorted position to the left of the desk. This time, I had to consult the motherboard manual and connect by feel. Before I could do any of that, I considered placing the case outside to the left and moving the items that had been there – power strip, 8mm camcorder (for digitizing home videos), external FireWire converter (for analog video and audio from camcorders and VCRs) – into the compartment along with the external Blu-ray writer. Realizing that would be a waste of space, I put the tower back in and moved the camcorder and converter under the desk below the keyboard stand, where a DVD recorder and two 4-head Hi-Fi VCRs were situated. The camcorder went to the left of the VHS VCRs and the converter was seated on the right end of the DVD recorder. A/V cables were moved to the back.
Three hours later…

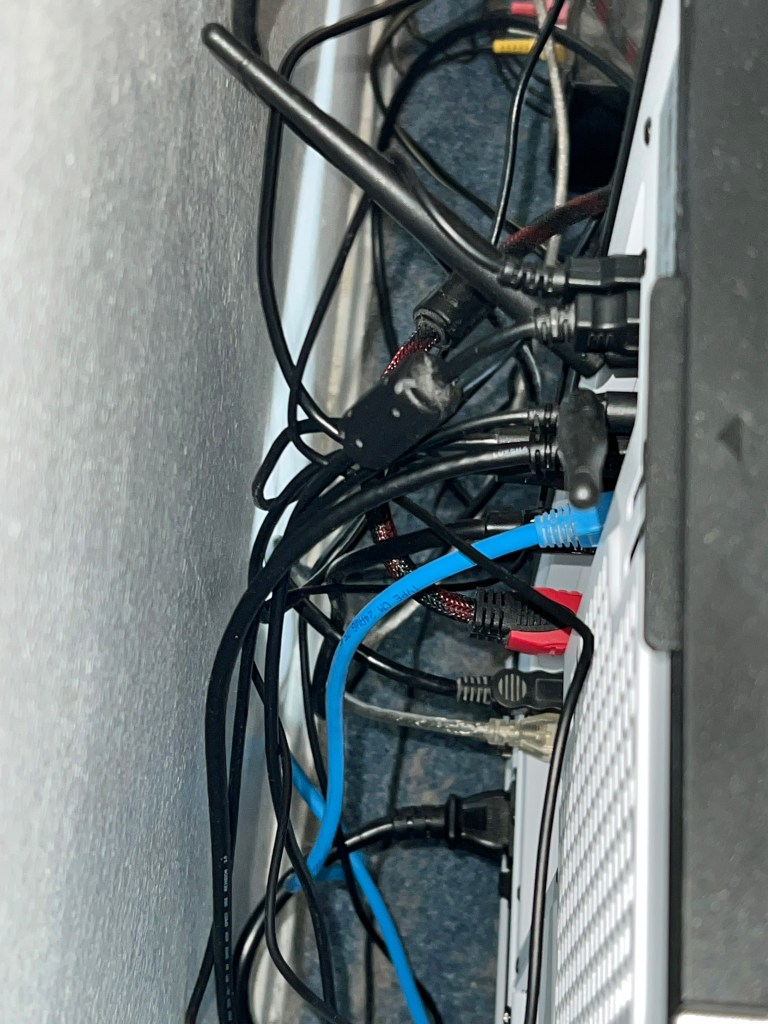
It was tough connecting the USB 2.0 cables for my flatbed scanner and mouse while keeping the Wi-Fi antennae secure. 
It took another hour to uninstall and reinstall programs that didn’t transfer entirely. In the case of iTunes, a Google search reminded me how to properly carry over iTunes settings from one computer to the next. I copied the iTunes folder in the Music section of my old computer to a flash drive and then copied to the same folder on the new one. Bingo! I picked up right where I left off!
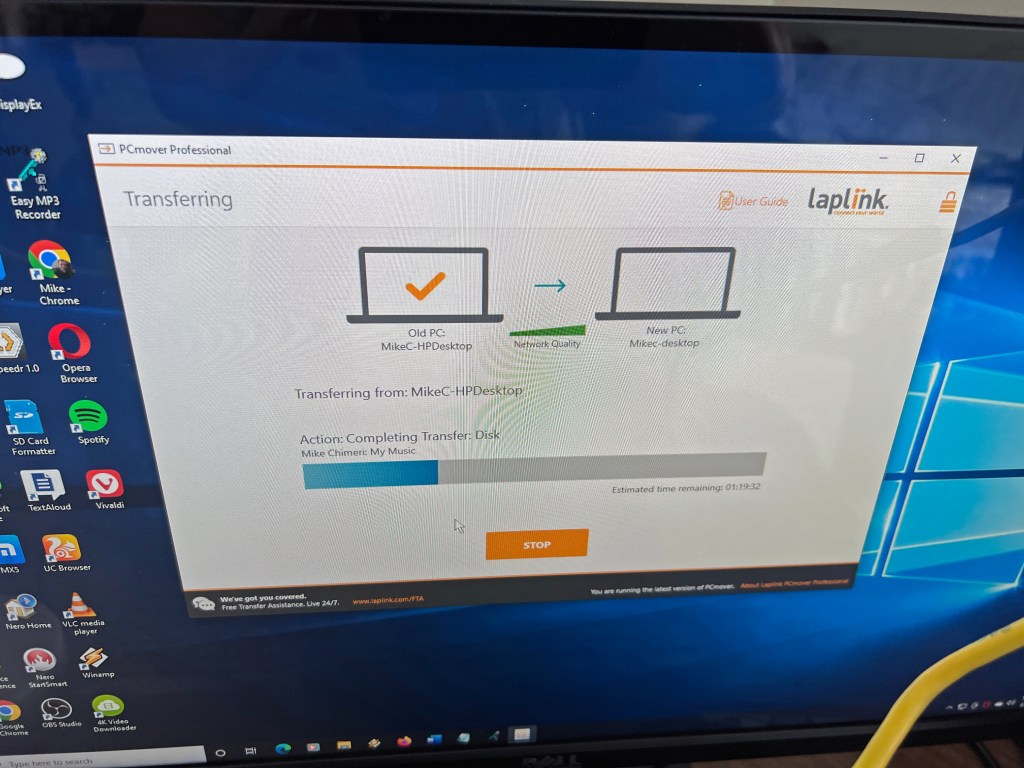
It was finally time to open PCmover on the HP Envy and Dell XPS (with the second use license) and transfer from one to the other. In order to see what I was doing, I connected the computers to an HDMI switch that I connected to the monitor, and alternated between them. An error message in PCmover on the Dell said there wasn’t enough room to transfer everything, even when I specified what data would go on the small 512GB SSD C: drive and the bigger 2TB (terabytes) HDD D: drive. Attempts to uninstall and pinpoint folders with the most data didn’t help much. Still another hour had passed once I gave up and transferred anyway.
While that was going on, I made up for lost time by eating a late breakfast in my room and heading to the basement for a treadmill run and weightlifting. After a shower, I checked on the transfer. Despite my specifications, data intended for the D: drive still went to the C:. There were only 10GB left on the C: drive, but clearing unnecessary data brought that number back to around 100GB. I cut and pasted the pictures, documents, music, and videos folder contents to the D: drive along with any other storage folders.
Satisfied, I turned off the computers, unplugged them, and disconnected cables. Then, I got an ultimately-time-consuming idea. Why not take the HDD out of the HP and put it in the Dell as a secondary data drive? Opening the two towers and removing the HDD was easy. Getting it into the Dell was where time slipped away. I needed to print out pages from the XPS 8930 maintenance manual to figure out how to seat it. Attempts to remove the graphics card bracket failed, meaning I couldn’t take out the drive slot to screw the drive in place. After attaching the built-in power supply connector and using a spare SATA cable from the motherboard assembly kit, I opened the bag of unused zip ties (cable ties) from my tower case assembly kit and tried to secure the HDD to the slot with them. It worked, but I couldn’t put the right-side cover back on. I seated the drive upside down and the cables were in the way. I tried in vain to swap the straight and right-angle ends of the SATA cable. The zip ties had to be cut off. That’s when I gave up. The HDD would sit loosely in the slot, period. Now, the cover fit back in place and closed securely.
I screwed the HP Envy’s right-side cover back on (much easier), prepared for future disposal, and set up the Dell XPS in its place. I formatted the HP’s HDD and it was ready for use. The only problem was I accidentally allowed PCmover to transfer the built-in HP Recovery software and couldn’t remove it from any drive, not even the “new” one after formatting. Oh, well. I can live with that, too.
Ironically, all my hard labor took place over Labor Day Weekend.
Before I get to the aftermath portion, here are the rest of Monday’s photos:

Aftermath
Things seemed fine on my build once I acclimated to it, but I made another oversight that led to another living nightmare.
The first sign of trouble came Monday morning when I tried to change the built-in FireWire driver to a legacy driver I had used on prior computers. I would just disable the driver and make the change. Wrong! Disabling the drive crashed the computer and forced a reset. I did a test video capture with the irremovable driver and there weren’t any capture freezes (where it thinks there’s no signal) or dropped frames. So, I accepted my fate with the new driver.
The next sign of trouble came that evening when a trial version of Topaz Video Enhance AI froze while loading. Ending via the task manager (Control-Alt-Delete) seemed to help as it worked fine upon reloading. I used the program to test video upscaling speed; only slightly faster than on the XPS desktop and Alienware laptop.
The nightmare came on Tuesday, September 6. Apparently, my computers’ desktop folders are tied to my OneDrive account. Program shortcuts in that folder are visible on all computers. If the program isn’t on the computer, the shortcut goes nowhere and has a blank icon. To remedy this, I either deleted shortcuts or installed the software. The one program I thought to install on my build that was on my laptop was the Nox Android emulator for watching the Optimum TV app. I had been using Bluestacks 5, but at some point this year (when the app was still called Altice One), an update was introduced that rendered the app unusable beyond the login screen. A month ago, I looked for other emulators and found Nox. The app works on there. If Nox worked on my laptop, surely it would work on here. Blue screen of death wrong!
My first attempt to load the program caused the computer to lock up, but not prompt a BSoD. So, I simply reset. I immediately tried to load it again after logging back in and this caused a BSoD! I looked online for solutions and one told me to create a code that allows you to open “Windows without Hyper-V” instead of Windows 11, which I blamed for the nightmare. Hyper-V wasn’t even checked, but I put the code in anyway. It seemed promising when the load progress approached 90%, but bam!, another BSoD. I uninstalled Nox and removed the “Windows without Hyper-V” boot option. I shouldn’t have an emulator to watch the Optimum TV app on a computer in the same room as a DVR (digital video recorder).
At any point during assembly when I ran into trouble, hopelessness and self-doubt kicked in. In those moments, I thought I shouldn’t have done this, that I should have just bought from Dell or HP like I always had. I could add expansions once the pro build arrived. Well, when I entered BSoD hell Tuesday evening, the self-doubt and buyer’s remorse came back with a vengeance. My irrational mind screamed that I blew my money on a lemon, or that I’d have to pay a technician to clean up my mess.
Someone in the Technology Connections Discord suggested I update the CPU chipset. All that did was lead to faulty audio and a BSoD with a different stop code, one that I remember: KERNEL_MODE_HEAP_CORRUPTION. The same one came seconds after logging in upon restart, and I didn’t even open anything. After that, I repeatedly typed the delete key to prompt the BIOS menu before Windows could boot. Then, I asked the Discord what to do next. While waiting for a response, I turned off the computer. When I turned it back on, the Windows Recovery environment launched. I was able to roll back to Tuesday morning, before I installed any problematic software. Then, I ran the Windows Memory Diagnostics Tool. As it ran, the TC Discord – I was chatting on the Dell in the guest room at this point – recommended I download and install drivers for the motherboard and graphics card; yet another oversight. I should have done that on Sunday.
I downloaded the drivers, copied them to a flash drive, and installed them all on my computer once the memory diagnosis was complete and no problems were found. Then, I restarted and didn’t get a BSoD in the 20 minutes I was logged in before one more try at disabling the FireWire driver. That still caused a reset, but no BSoD afterward. I took two screenshots of the audio enhancing software included with the audio drivers and called it a night:


Overnight, I had dreams about BSoD and tweaking the motherboard. I woke up early Wednesday morning, September 7, and turned on my computer. There were no BSoD in the three hours it was on before leaving the house for the day. Topaz Video Enhance AI seemed to freeze, at least somewhat, when I tried it out, so I uninstalled it. If I want to upscale video, I’ll buy DaVinci Resolve 18.
Back at home that evening, the mechanical keyboard felt nice. It will take time to get used to and cut down on typos. The accompanying wrist rest, which attaches magnetically, was too thin and firm for comfort. So, I bought a cushy replacement.
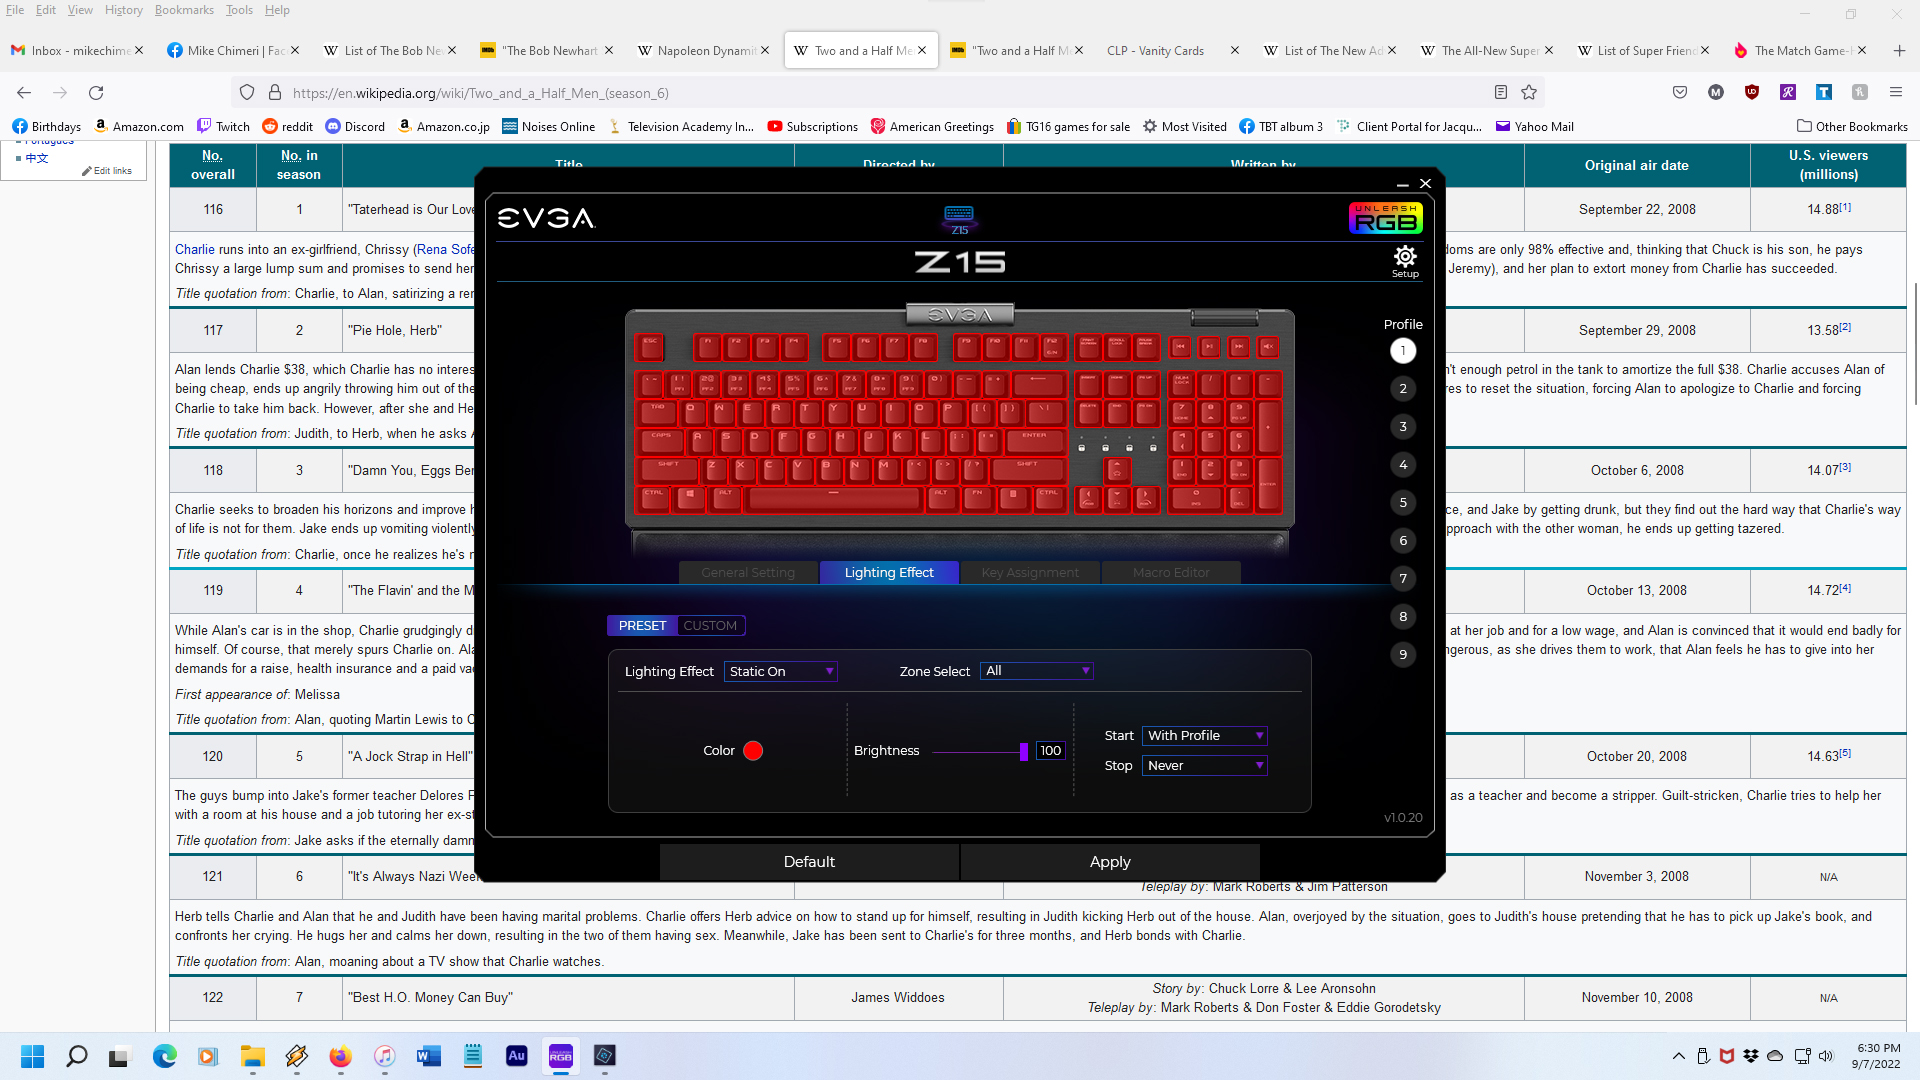
I took a photo of the keyboard once I set it up, and screencapped a typing test:


As with the tower case, the keyboard has RGB backlighting and I chose static red as my color. Even the keyboard needed a firmware update, exemplified by a random disconnect and reconnect when I took my first break from typing. That hasn’t happened since the update. Part of the update is a program that lets you save your color preference and that regulates the backlighting, which turns off after five minutes of inactivity and turns back on next time you type.

The replacement wrist rest arrived yesterday – Friday, September 9. I tested the feel while lined up with the keyboard and with the keyboard and rest separated by 3/4 inch. The second test felt better, so I secured it with three pieces of mounting tape; left, center, right.
Here’s the result:

As of today, September 10, my BSoD-free streak is intact (knock on wood), but there was no power to the keyboard when I tried to log in after turning on the computer, requiring a disconnect and reconnect before entering my PIN. A minute or so later, neither the keyboard nor mouse functioned properly, and both had to be disconnected and reconnected. Checking Windows Update revealed that a USB driver update was pending. That must have been the culprit.
Here’s hoping my build lasts as long as five years before any replacements are necessary. I will surely replace my desk before then, an open kind with easy access to the tower. (Maybe this one?) Until then, thank you for reading about the week-long adventure of building my own PC and the growing pains that followed.
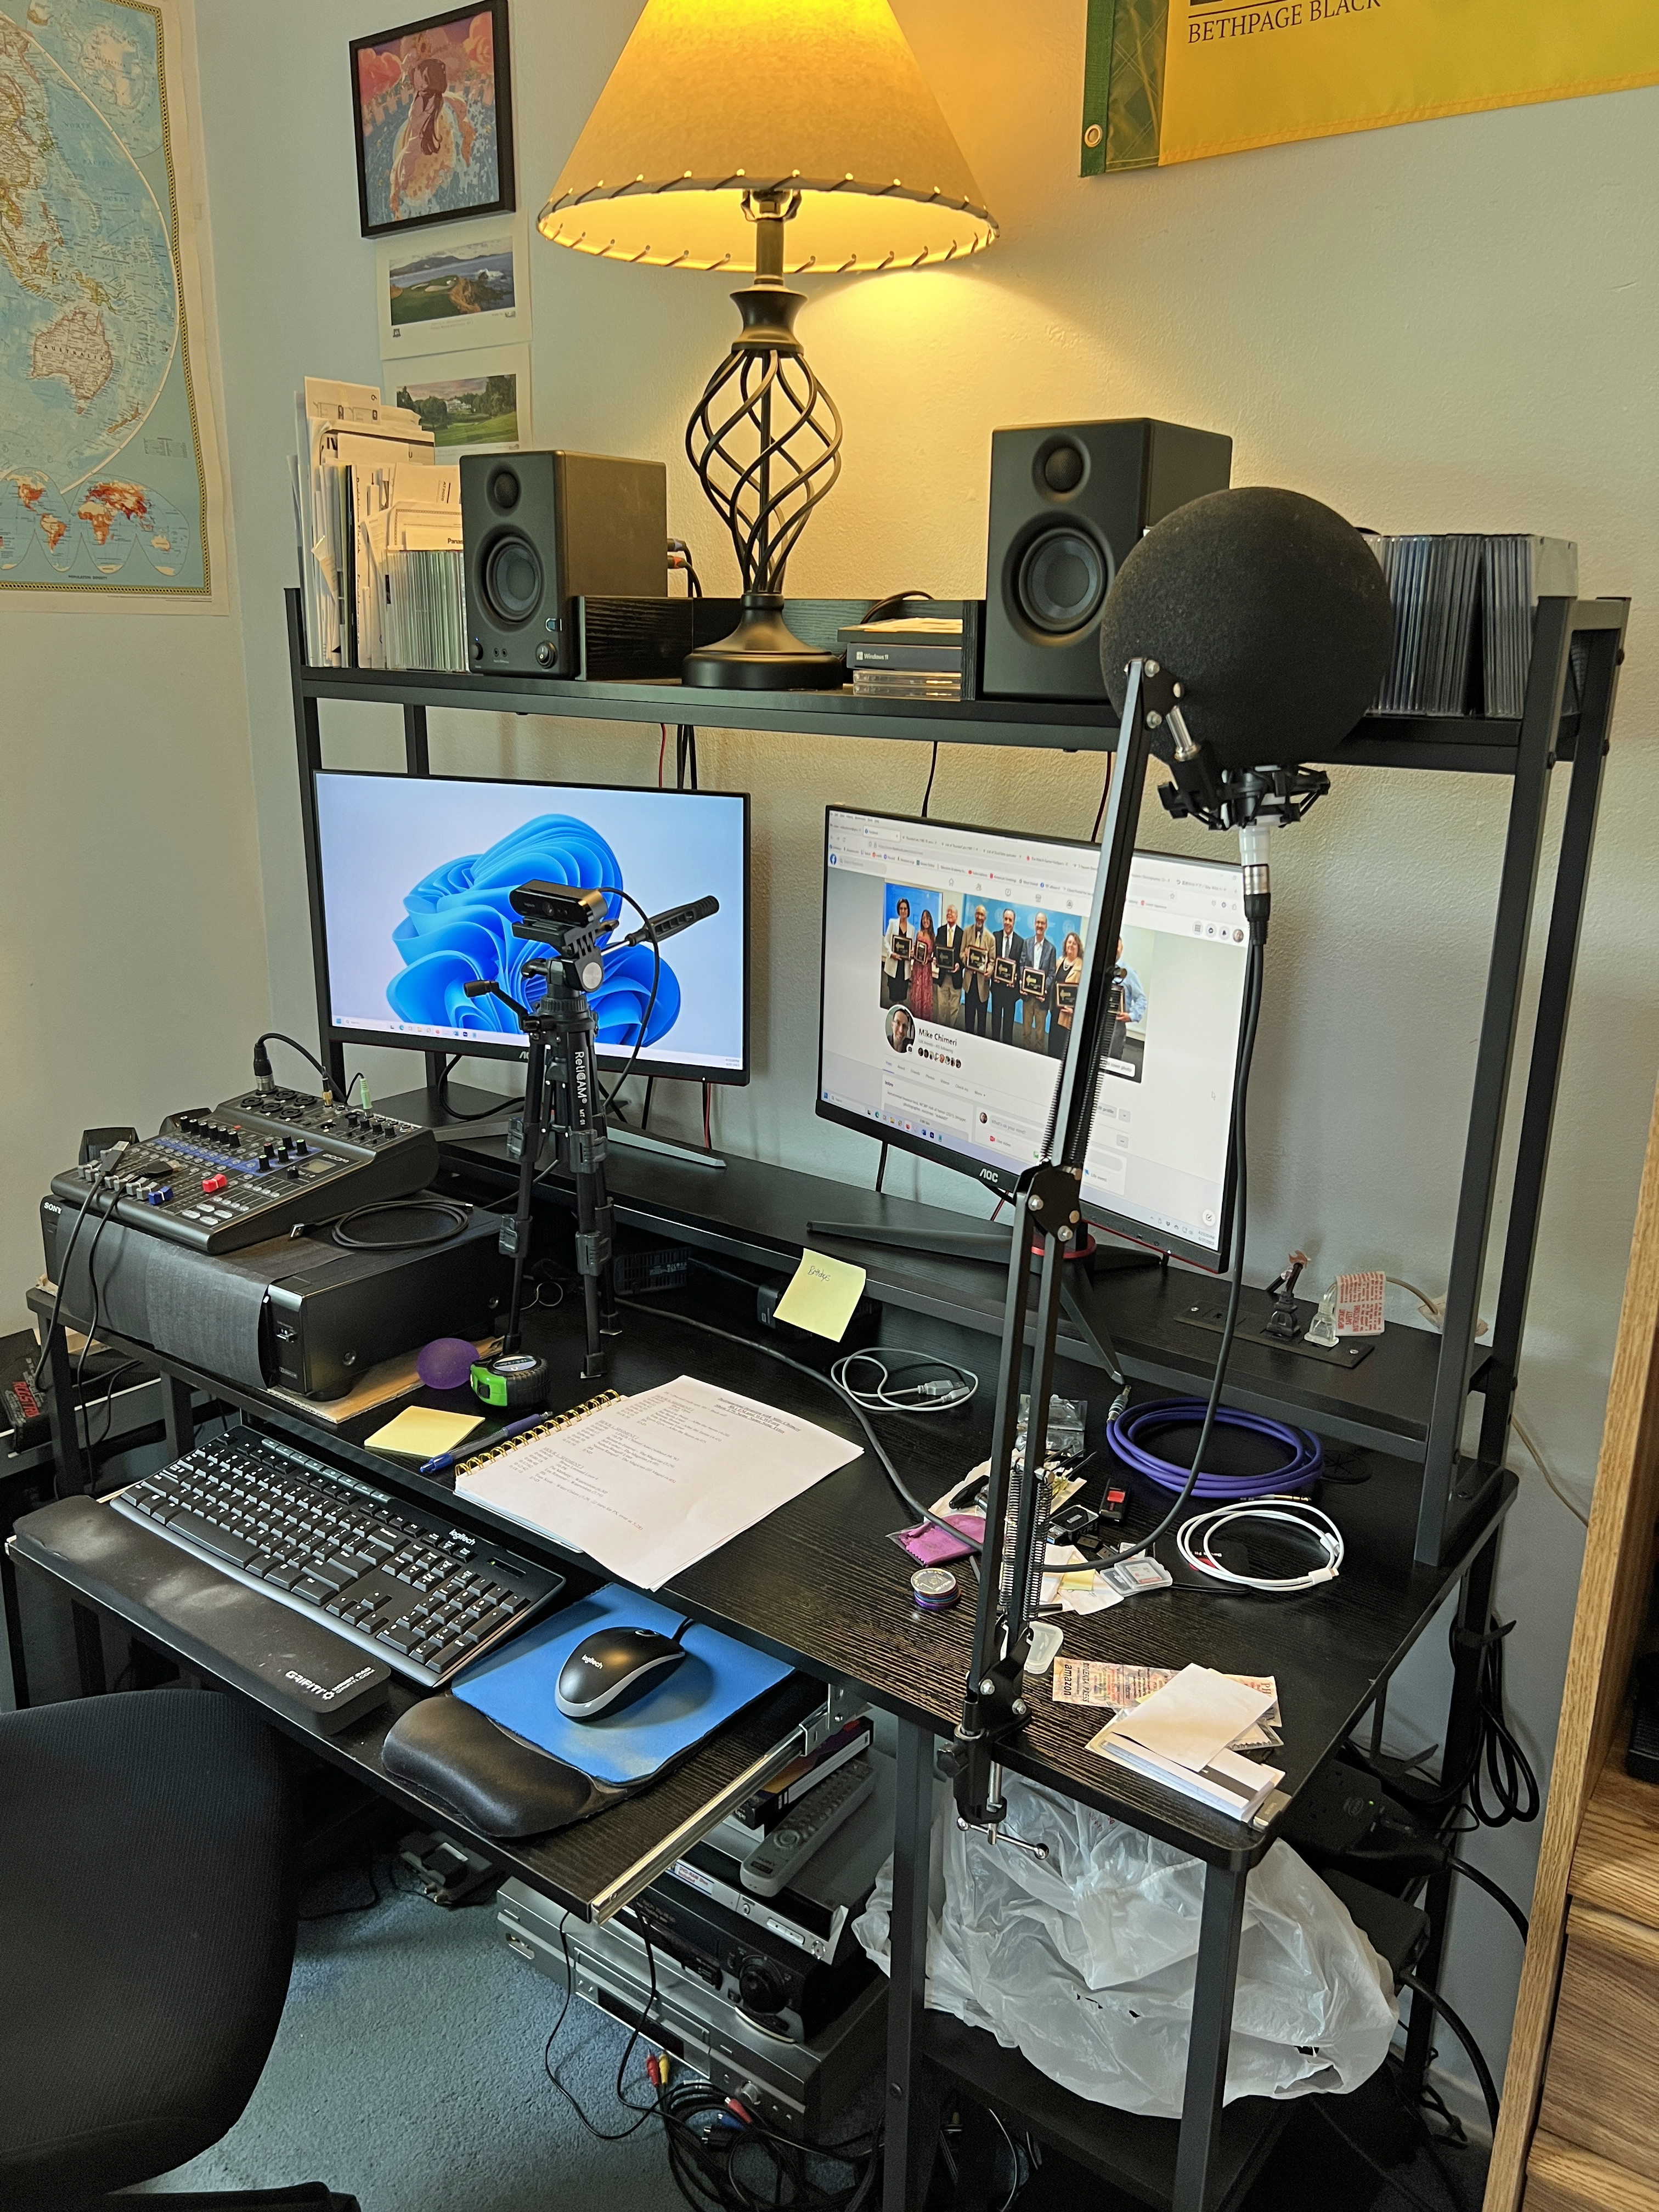
6/24/23 UPDATE: I replaced my desk with this one, which my uncle Scott generously assembled after I disassembled the old one. Here are the before and tentative after photos:
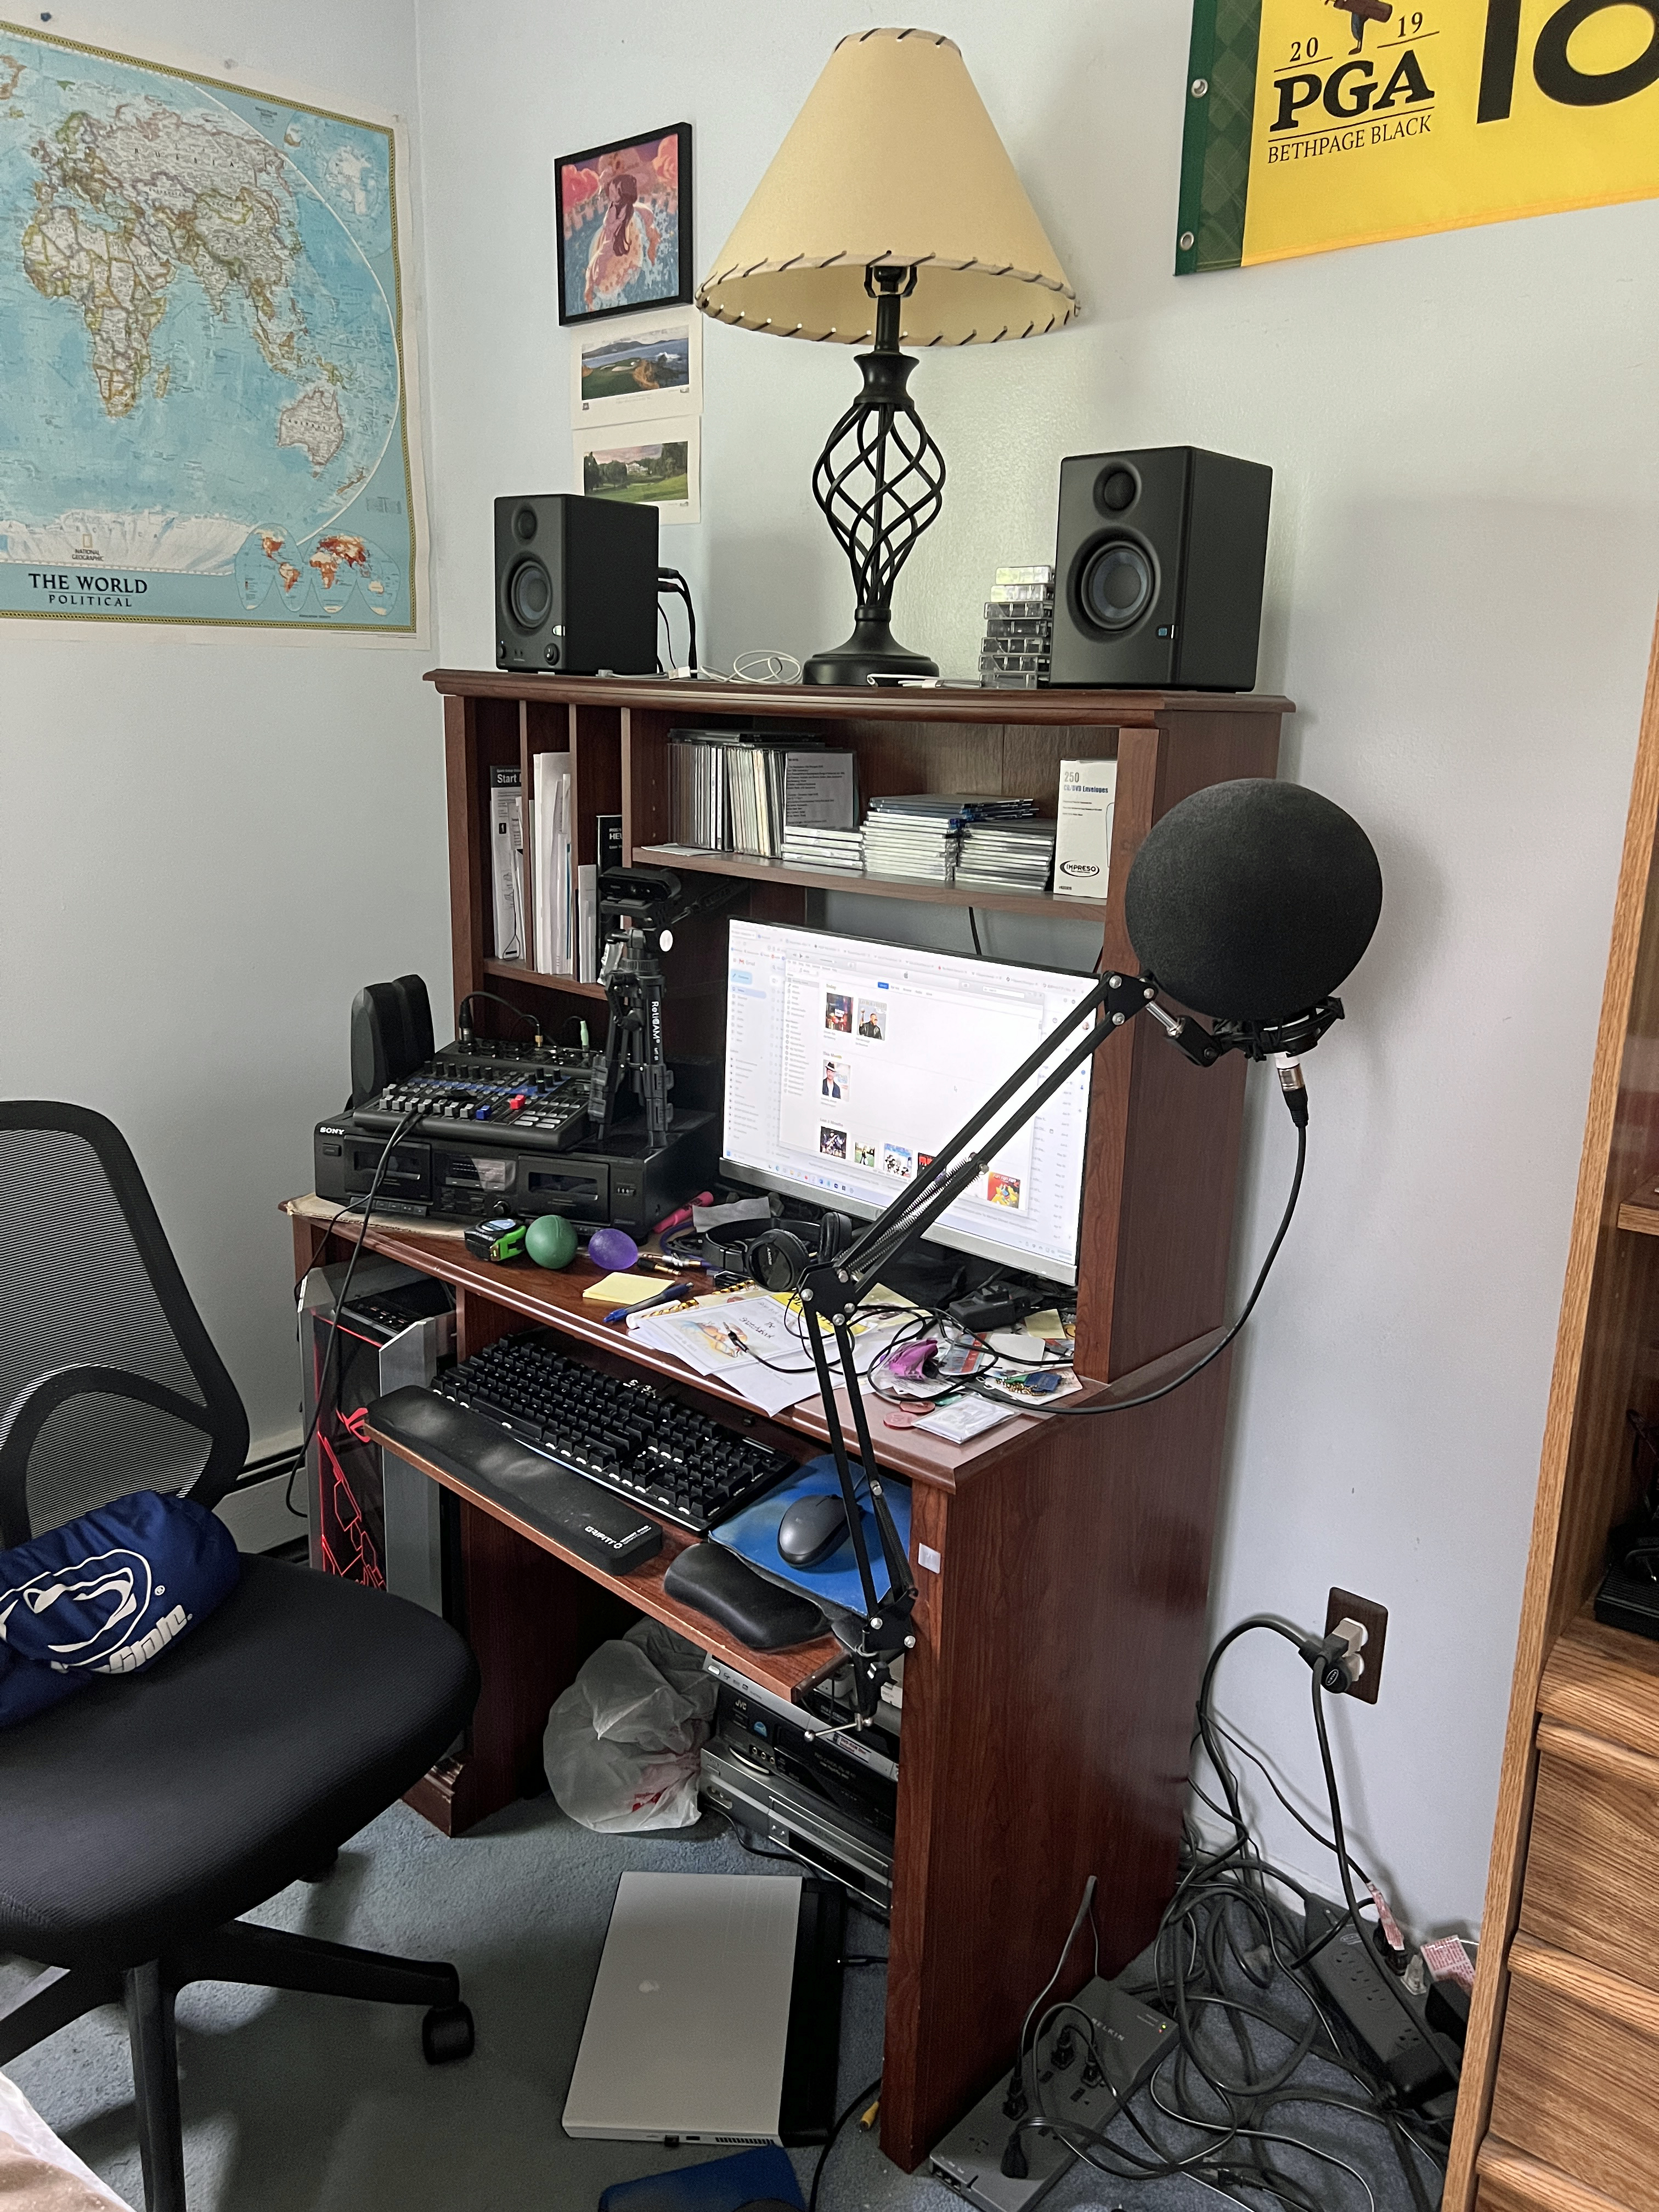

Repeating from the 6/21/23 Instrumental Invasion post, the after photo is tentative because my dual monitor setup is in limbo. The primary monitor had dead pixels that I didn’t notice until shutting down the PC on the first night (6/17). I turned it back on and confirmed the problem on a screen saver test:

I bought the monitor from Walmart and returned for a replacement, but ended up getting a mate for it from Amazon after scuffing the screen on my single-turned-secondary monitor.
An October update to Windows 11 caused an irremovable bug in Adobe Creative Cloud. Updates are deemed “not available” and cannot install. The only workaround is to uninstall all apps and Creative Cloud, then reinstall CC and the apps. While I usually do this dance every month or two, I procrastinated for over three months until Premiere Pro caused a BSoD (the first since those driver updates). I was exporting a video and it crashed hard during finalization. It hasn’t happened since (knock on wood). It had me thinking I should have gone with 128GB of RAM in the first place. Then, I read articles like this to tamp down that notion. Besides, if I do add two more 32GB DIMMs, I’ll need to move and put back the CPU cooler.
Over time, the Z15 keyboard developed debouncing issues where certain keys double or even triple type. O, A, G, and space bar are the biggest culprits. Again, the Technology Connections Discord had the solution: take off the trouble keys and use contact cleaner on the switches. (I bought this kind.) If that doesn’t work, the keyboard came with eight replacement switches. This is another page I consulted.
6/25/23 UPDATE: Cleaning the contacts did not work. I gave up and bought a Logitech MK200 keyboard/mouse combo. So far, so good (knock on wood), though I may have to get a thinner/lower wrist pad. After writing that sentence, someone on the Ashley Abbink Discord (she’s a music streamer) mentioned they have a Logitech G413. I should have gotten that last year, even without volume controls. For now, it’s the MK200.
Photos of the Z15 yesterday:


And the MK200 today:

6/27/23 UPDATE: My dual monitor setup is complete. The replacement and mate arrived today and neither had dead pixels on their screens.
11/5/23 UPDATE: Last Monday, I returned to the mechanical keyboard sphere with a Logitech G413 SE.

I’d grown disenchanted with the MK200 combo’s keyboard. The mouse is great and I still use it, but the keyboard’s keys were stiff, the backspace key was stiffer, I regularly missed keys while typing, and I occasionally hit a key one row above or below the intended key.
So far, the G413 SE doesn’t suffer from as much debouncing as the EVGA Z15 had. Keys are nice and smooth which makes typing a breeze and correcting typos simple because I do make my share of them.
I also had to replace the right monitor with the same model repeating my accidental scuffing by knocking over the webcam tripod. I’ve since spread out the tripod legs and raised the top to match the height of the prior configuration.
12/6/23 UPDATE: I came around on the RAM upgrade and bought another pair of DIMMs on Black Friday (November 24), the same pair I initially bought last year. They arrived last Thursday, November 30. Once I opened up the tower, I did have to disassemble the end of the CPU cooler in order to seat one of the DIMMs. I then reassembled and closed the tower. I also had to vacuum and blow compressed air in and around the tower. I don’t notice a difference in performance so far, but I haven’t had to render video yet.
I neglected to announce in my earlier updates that I installed an Elgato 4K60 Pro MK.2 internal capture card for my future (current) Twitch aspirations. These are photos of the installation back on May 18:


For gameplay, unless I bring up a console from the basement, I run a 25-foot Amazon Basics HDMI cable from a DotStone 4-port HDMI switcher for the four consoles in my room (PS5, Xbox Series X, Nintendo Switch, Wii U), and run that cable behind my shelf, under my bed, and to the card’s “in” port. I use Elgato 4K Capture Utility to play in real time while OBS applies a 300ms delay to the card, my webcam, and my mixer where the mic is connected.
12/21/24 UPDATE: First of all, the gameplay setup has changed, which you can read about here. Second, as noted earlier in this post, I replaced the PSU. The EVGA Supernova began to randomly power off my PC and automatically restart it. This happened twice on December 8 (11:09 AM, 10:37 PM) and December 16 (4:29 PM, 8:48 PM). Until the second wave, I assumed this was a BSoD problem, even though Windows reliability history didn’t list it as the cause. I updated the graphics drivers and BIOS. I panicked when the 4:29 power-off occurred and began thinking of buying a replacement PC from Dell. (I will buy an Alienware as my next desktop PC. While I appreciate encouragement I’ve gotten, I’m never building my own again.) I ran the Windows Memory Diagnostic Tool, and after a long two hours, it was determined my RAM DIMMs were healthy.
A Google yielded a How-To Geek article outlining my problem. I was willing to buy a PSU tester, and did so, but then came the second power-off of the second wave. With help from my dad, I bought a more reputable PSU from CORSAIR: the HX1200i. Amazon estimated it wouldn’t be delivered until Saturday (the day I’m writing this). In the meantime, I used my PC build sparingly, otherwise using the XPS 8930 in the guest room, or my Alienware M15 R3 laptop. (I went so far as to buy an external capture card for Twitch streaming on my laptop on December 18.) I operated this way until the evening of December 19. Someone on one of the Discords I didn’t reference in the original post suggested I try reseating the EVGA PSU cables, particularly the one running to the motherboard. I did that, turned my PC back on, and the power stayed on. This continued on December 20, when a stroke of luck hit: the CORSAIR HX1200i arrived a day early!

I went to sleep early and woke up early, then immediately got to work replacing the PSU. I switched off the EVGA PSU, unplugged it, disconnected the external cables from the PC, and lugged the tower into the guest room.
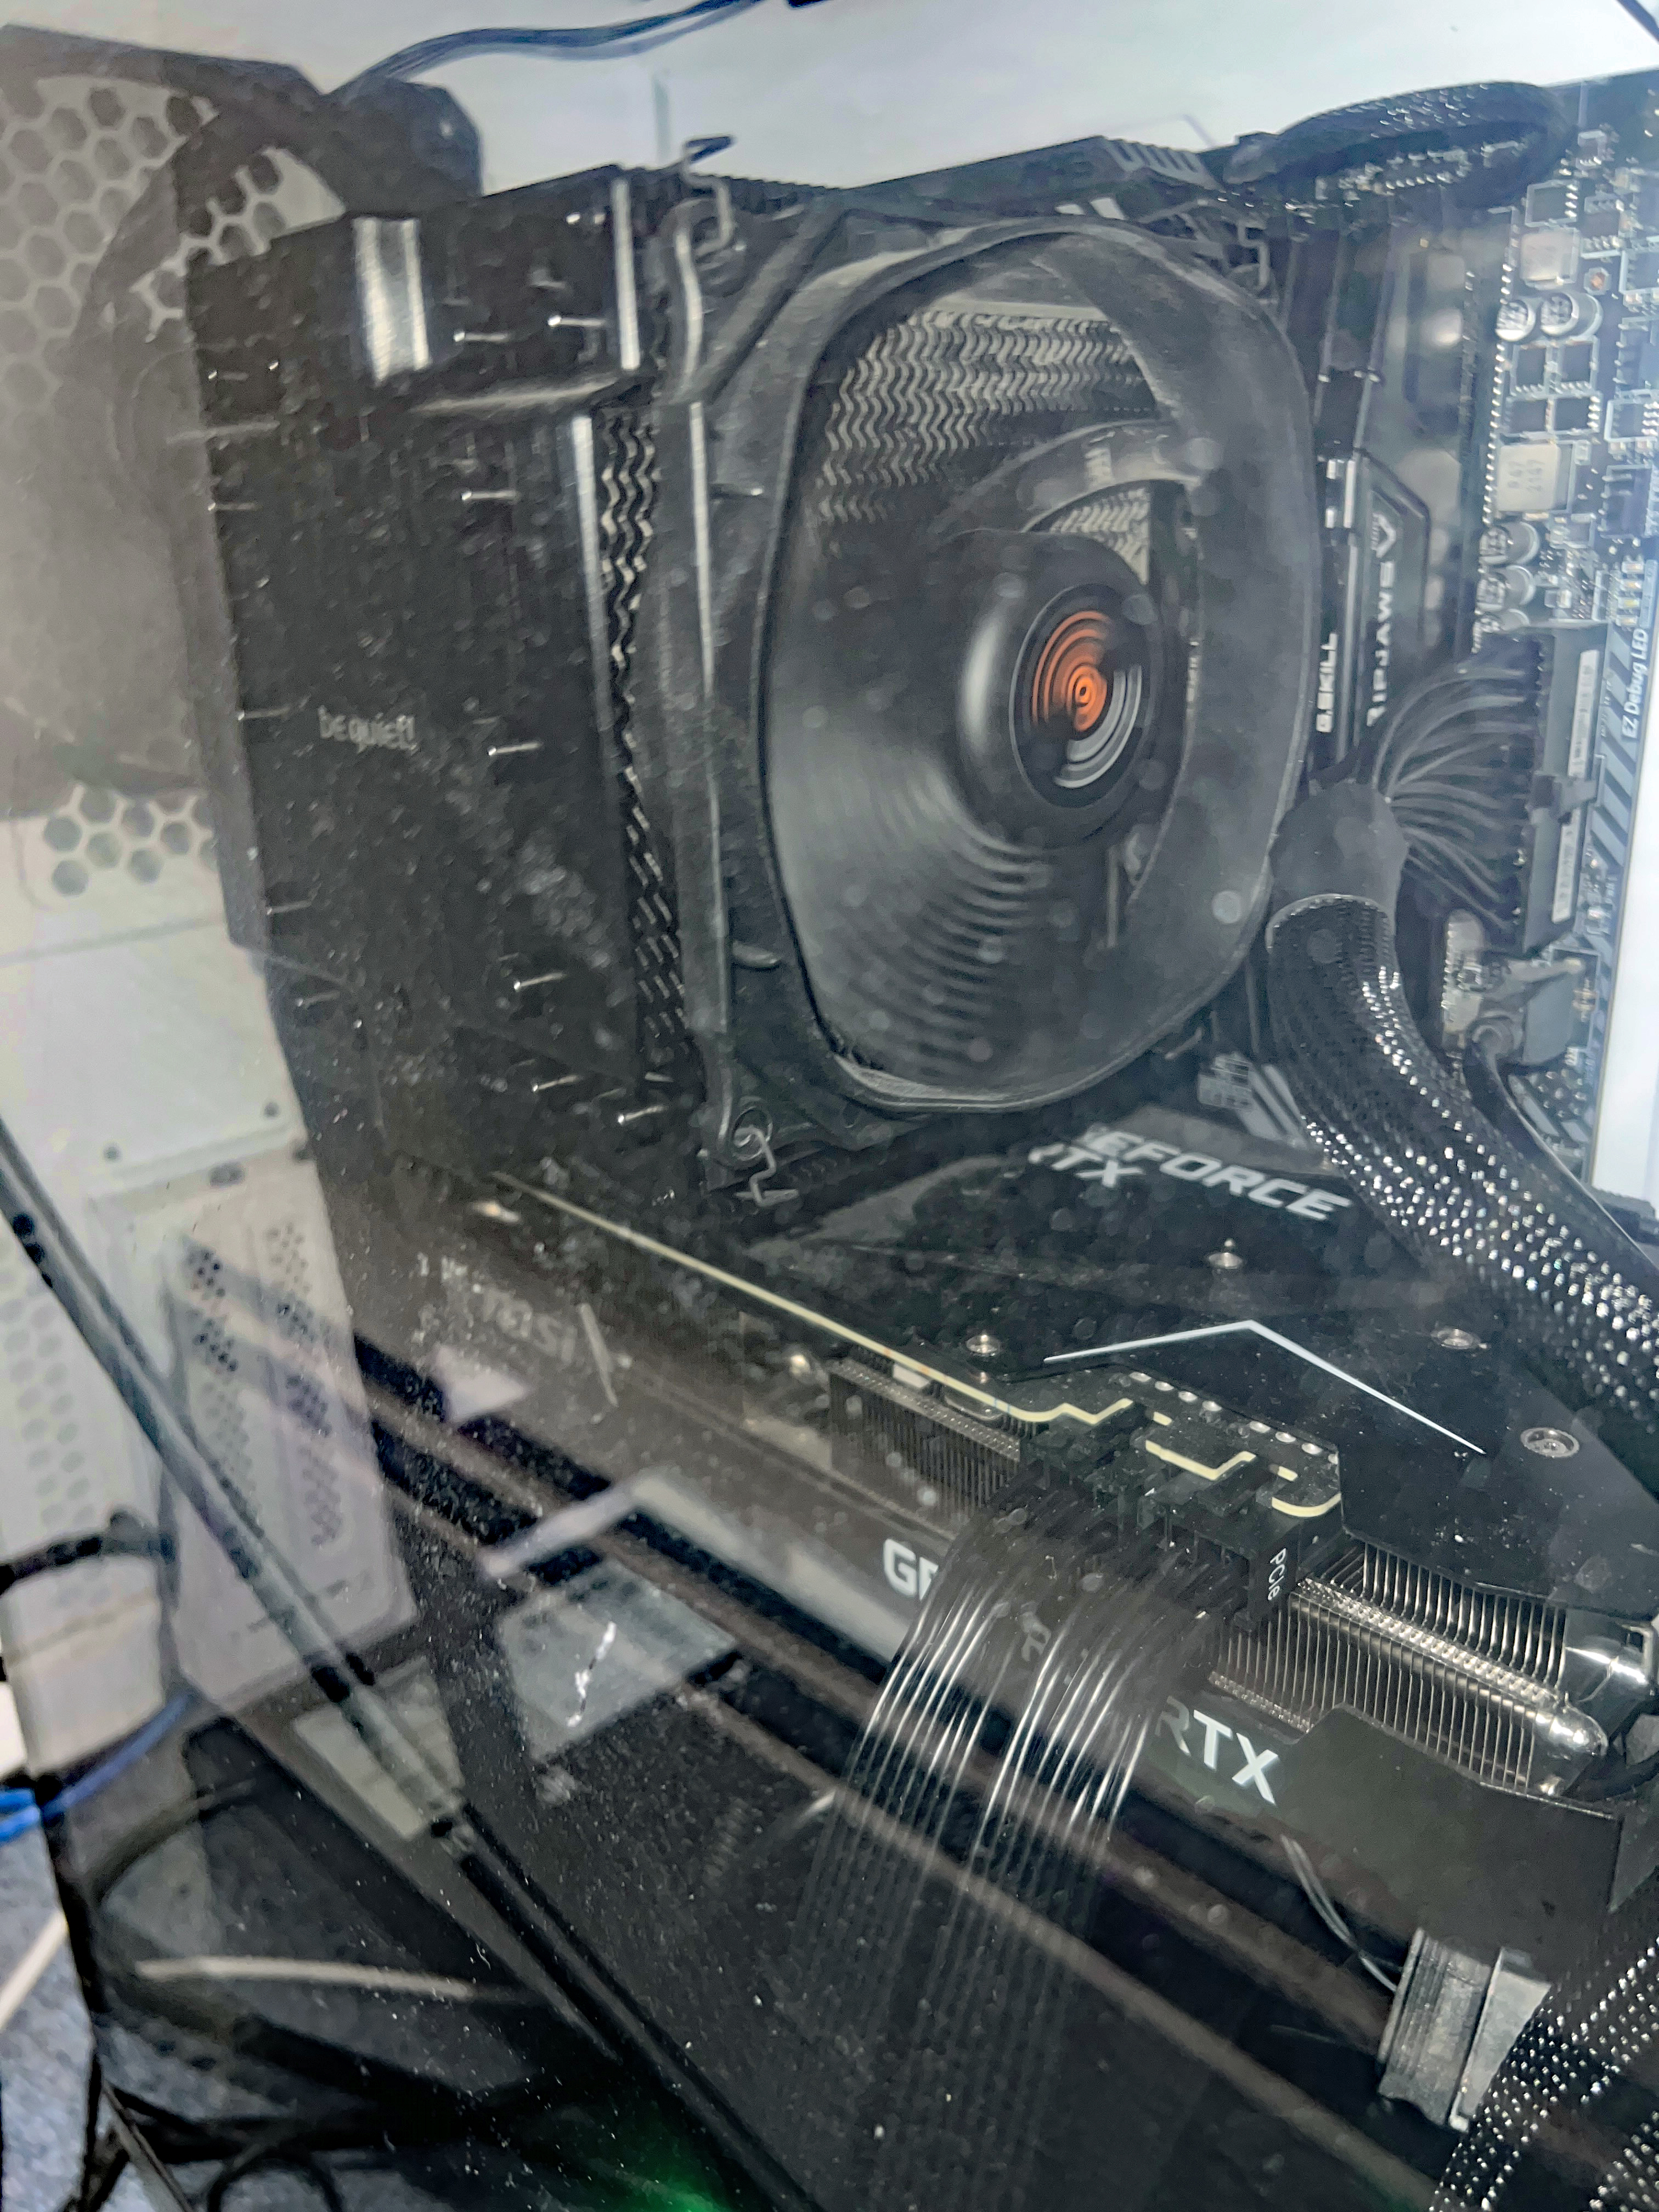
Here are the before photos:

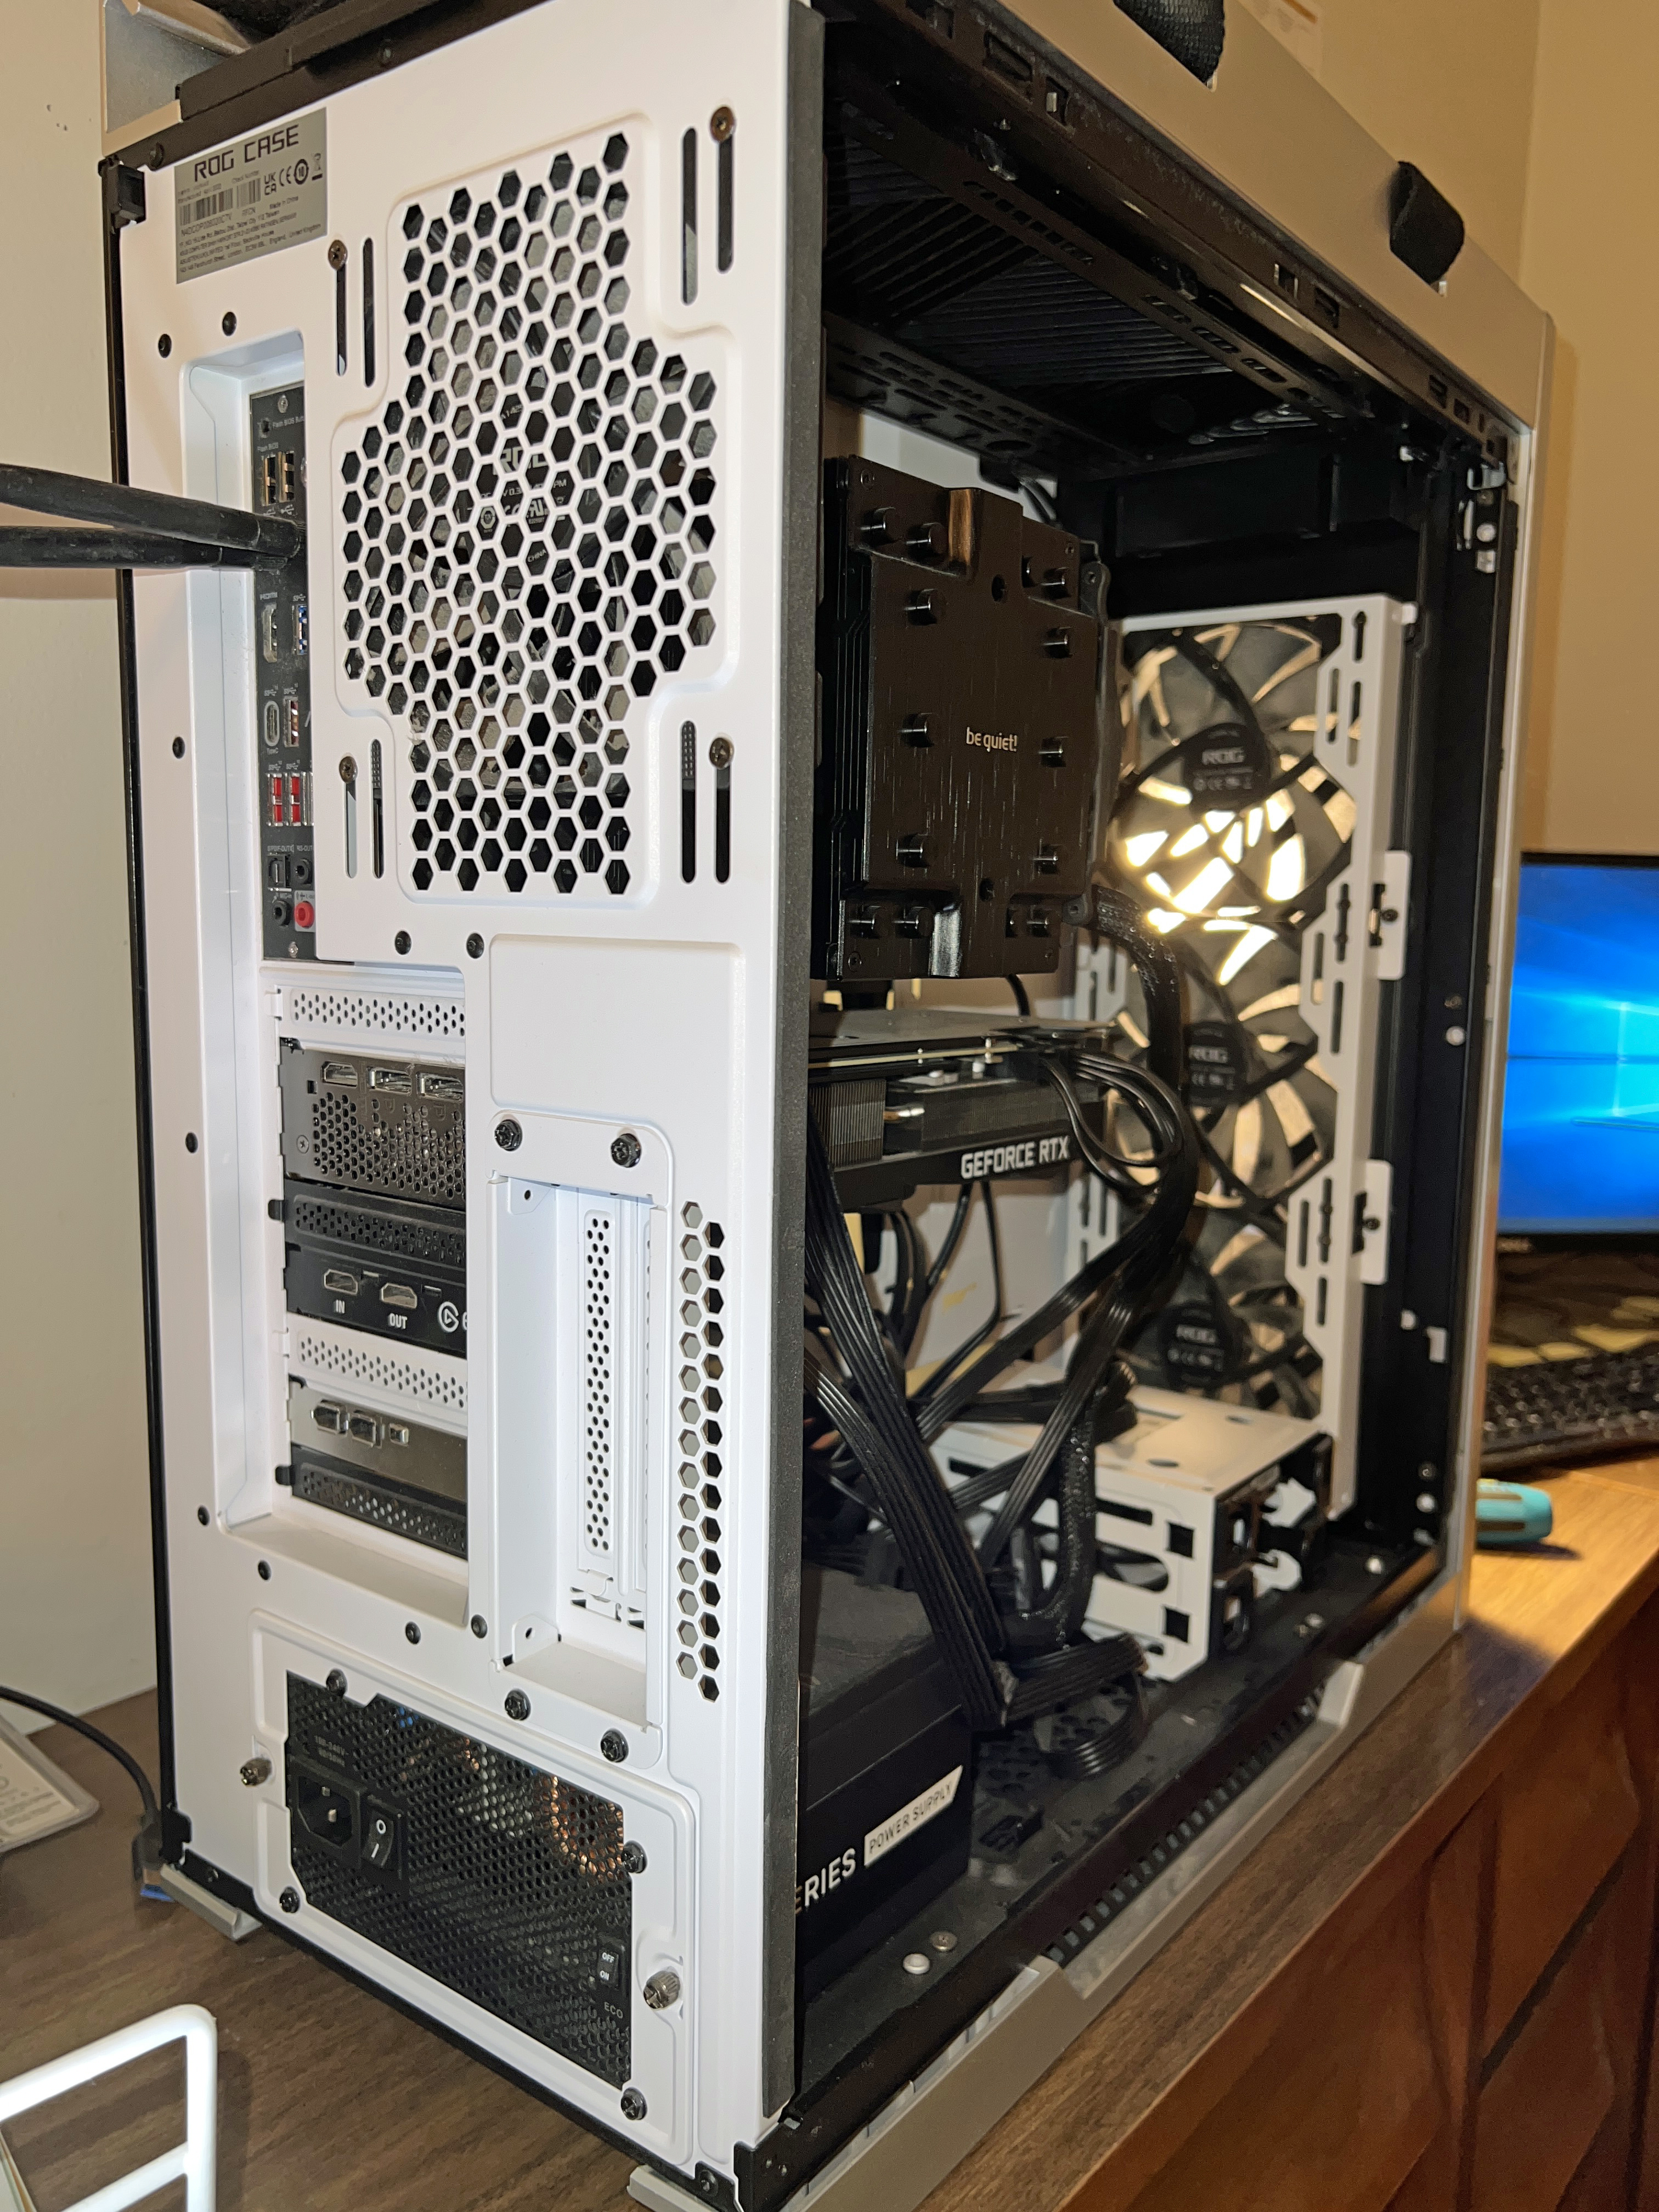
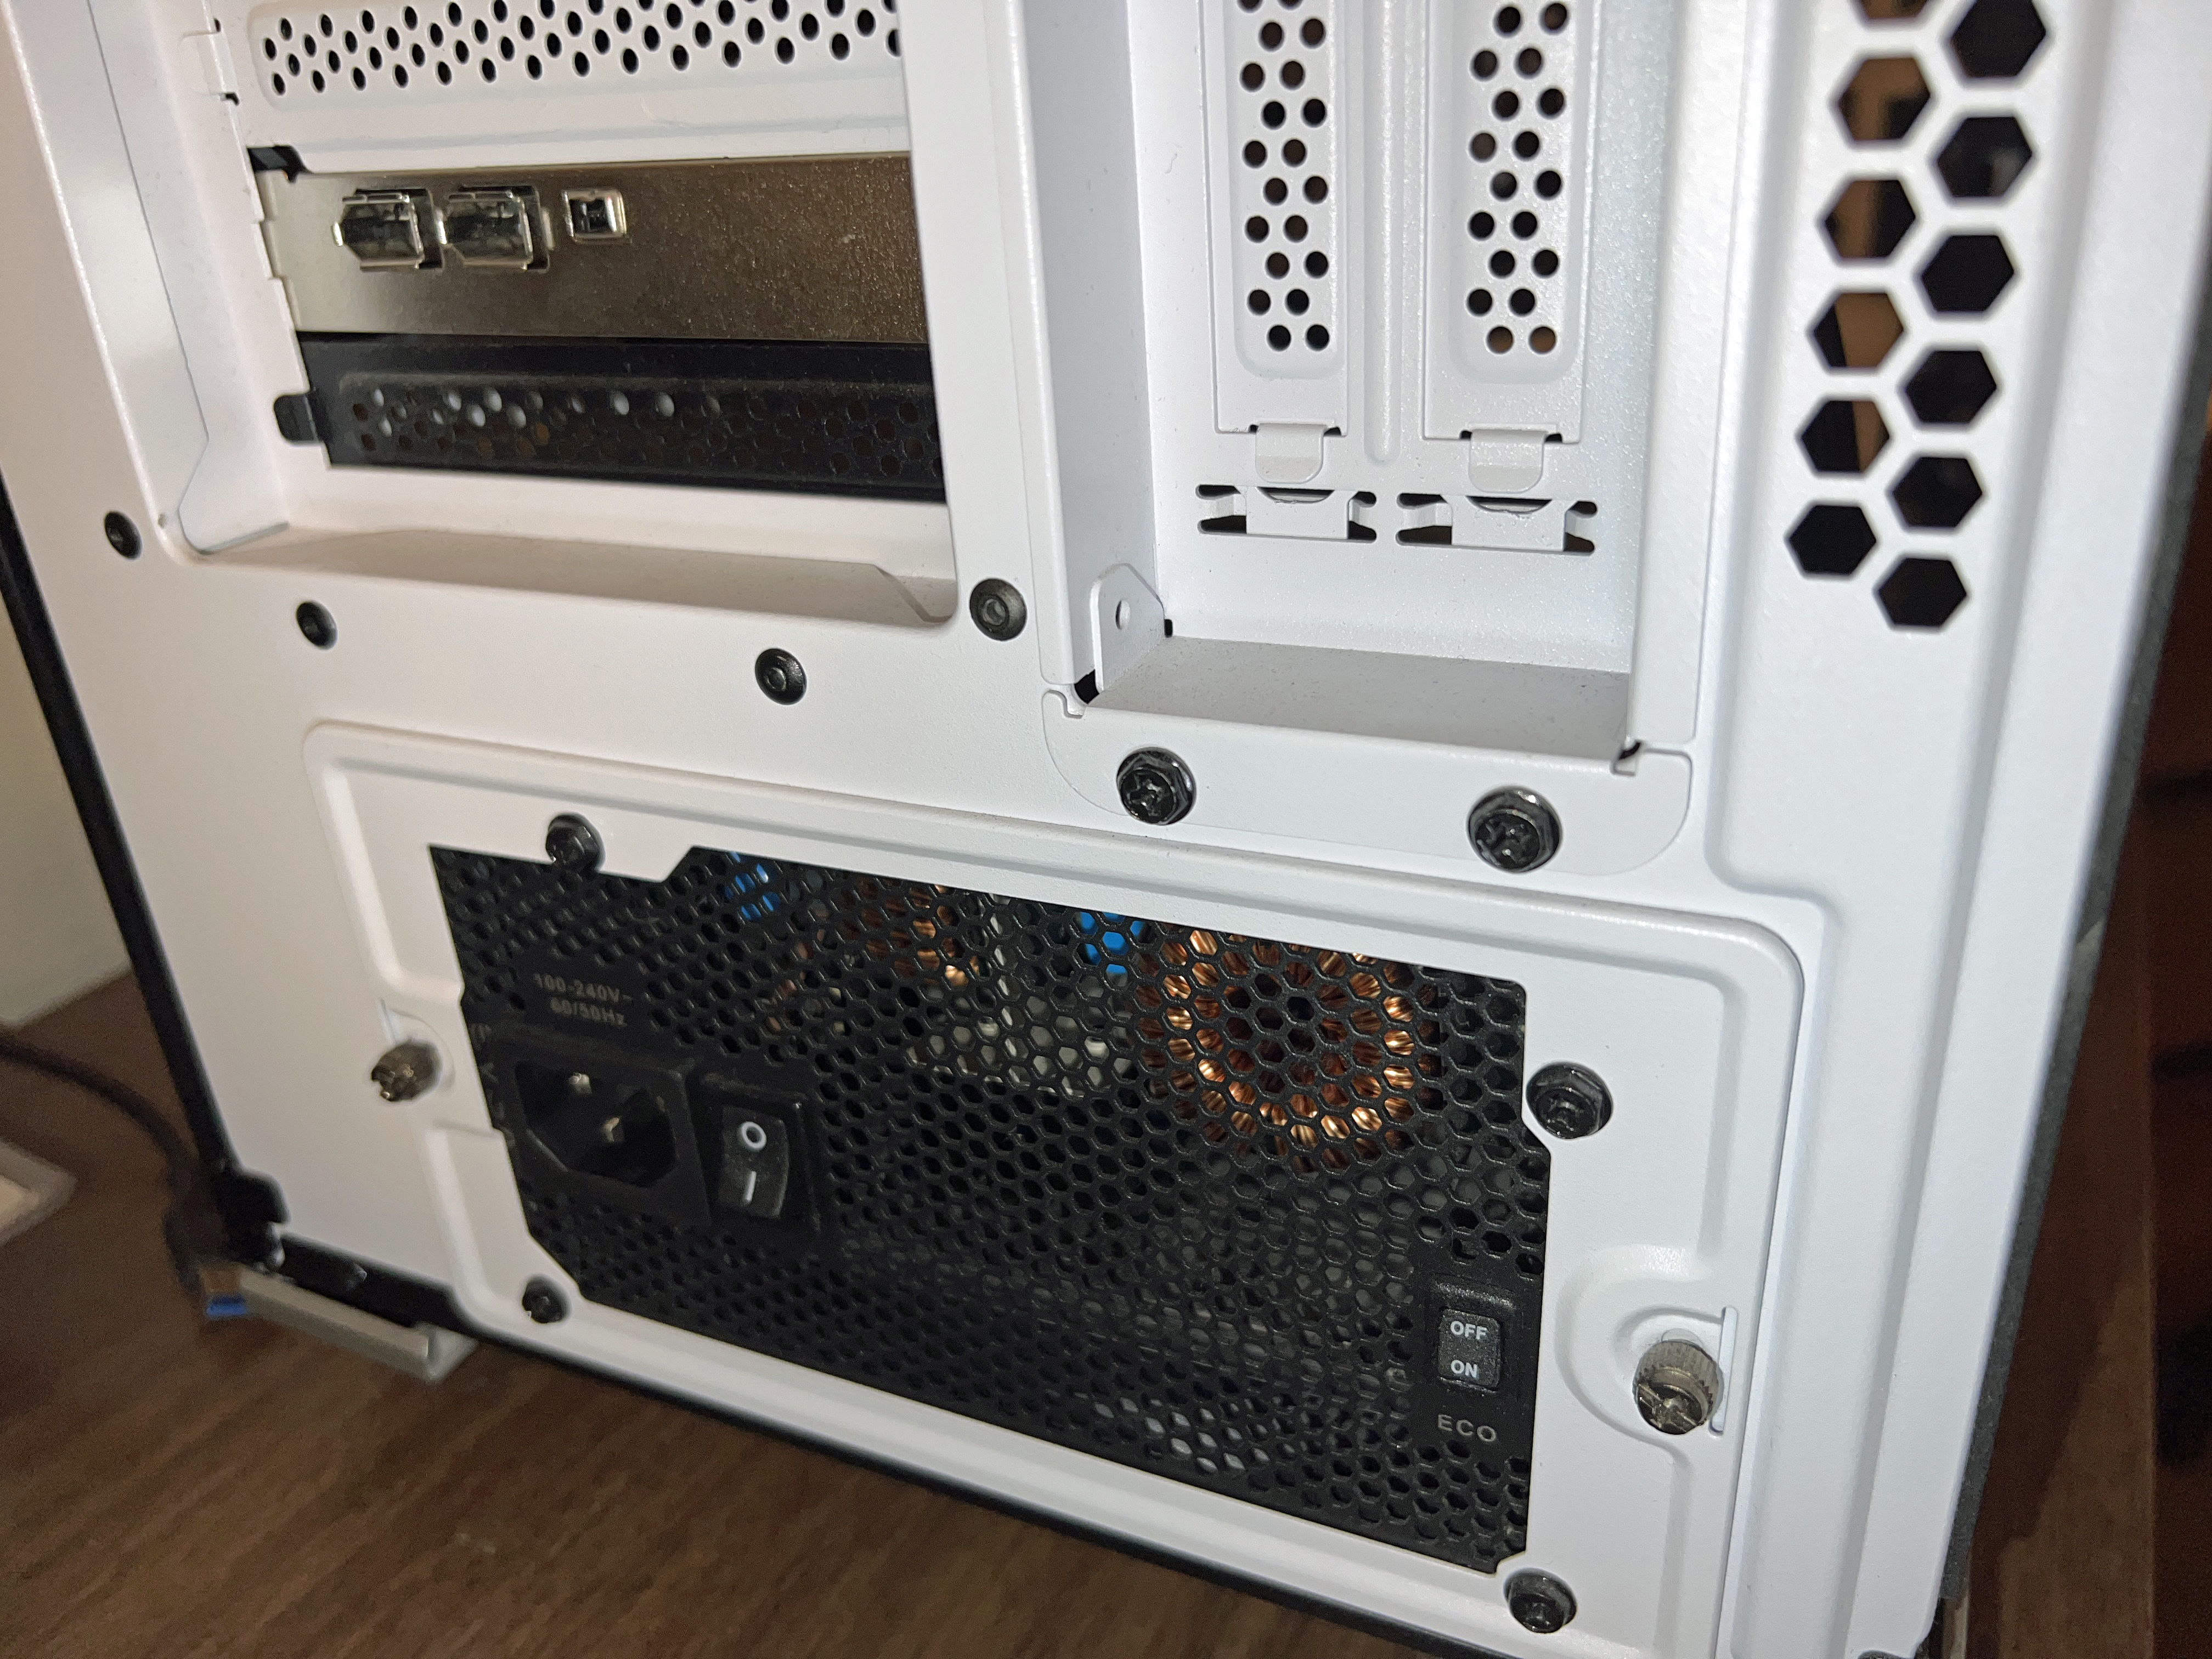
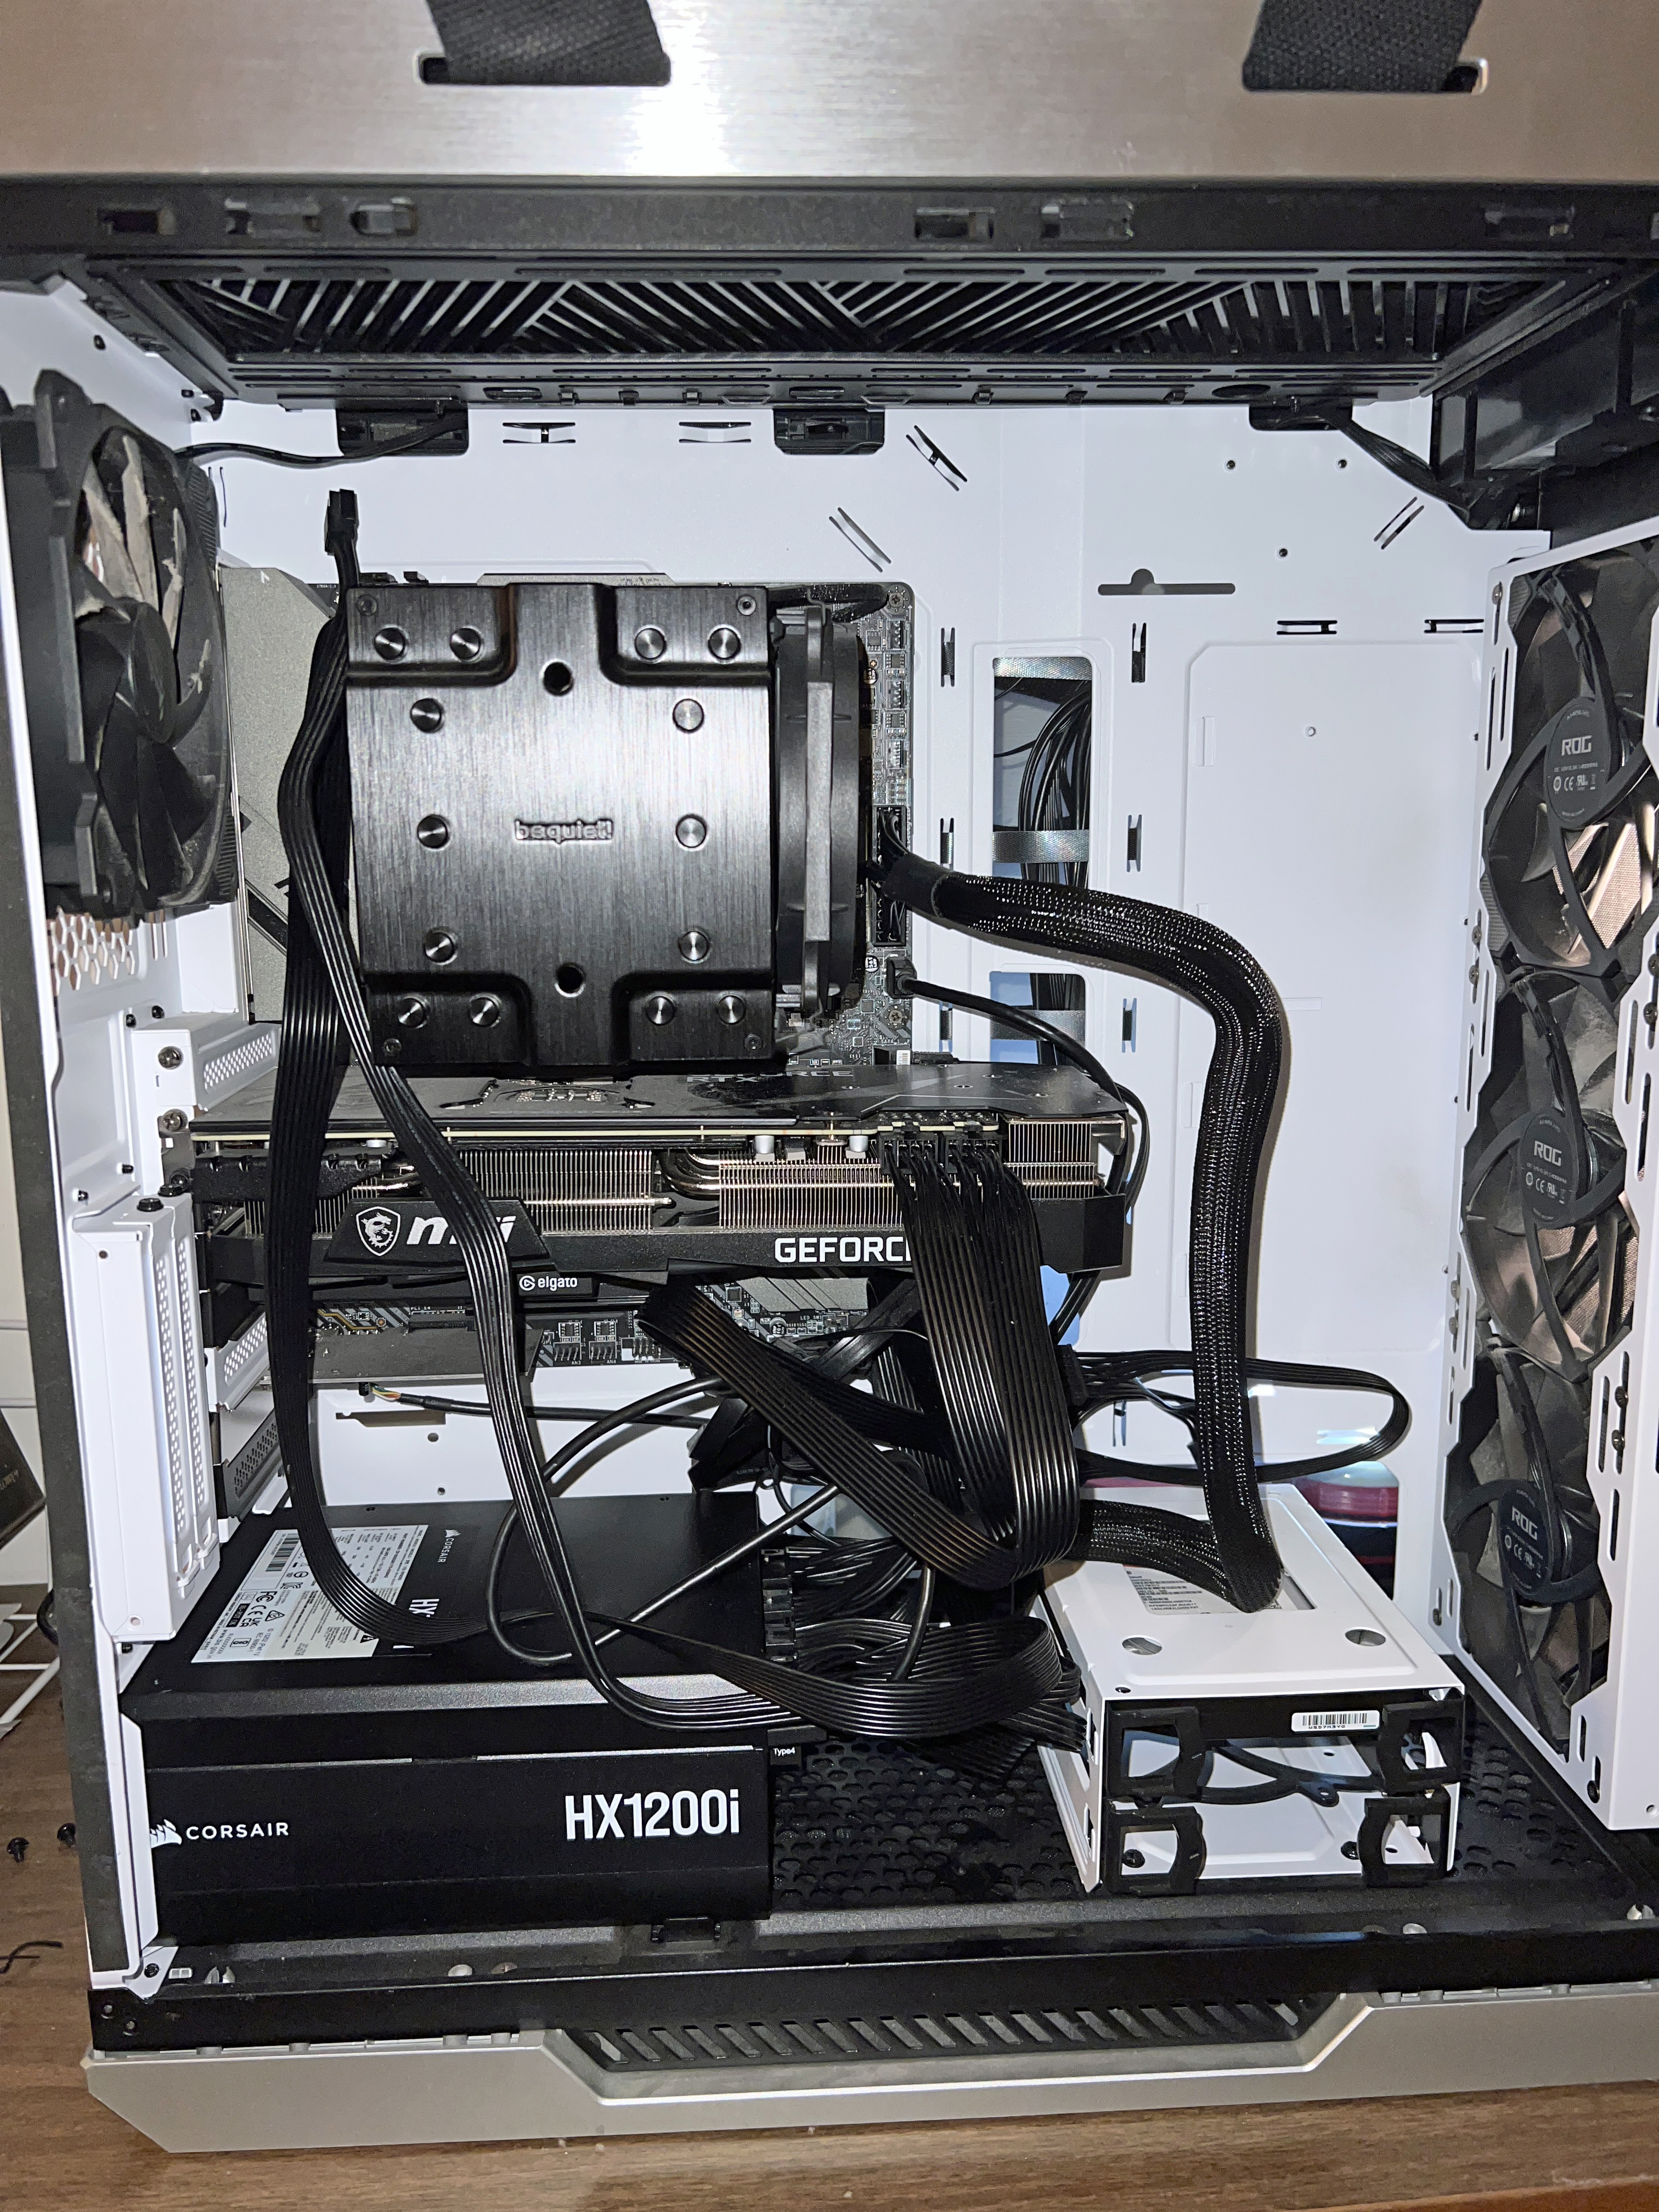
…and the after photos:


It didn’t seem right to leave the second CPU port open, so I swapped out the EVGA cable.
Once I brought the tower back to my room and reconnected the external cables to the corresponding ports, I was dismayed when the PC wouldn’t power on. Thinking the swapped cable was the culprit, I took switched off the PSU, took off the left side panel, and disconnected that cable. I switched the PSU back on, pressed the power button atop the tower, and the PC came back to life! I am writing this update from my PC with the new PSU. Here’s hoping this is the end of my power troubles and has extended the life of my PC build.
I’ll leave you with photos taken after successfully powering on:


12/21/24, 7:30 AM UPDATE: Hope for naught. Random power loss and restart. The PC build experiment is over. I’ve ordered a Dell Alienware Aurora R16 and will swap out the 8TB HDD, FireWire and Elgato cards upon arrival by next Friday. Until then, I’ll make do with my build, no matter how many more power-offs I endure.

Comments»
No comments yet — be the first.